How To Screen Record On MacBook Pro: Complete Guide
From creating tutorials and instructional videos to sharing gameplays and troubleshooting technical issues, screen recording is vital these days. Another example is using screen recording to help users troubleshoot technical issues.
The list goes on. An educator can screen record on Mac with audio to create interactive and engaging e-learning content for their students. They can create tutorials, record lectures, and demonstrate how to use different software programs. This makes learning more effective and accessible, especially for students who may be unable to attend physical classes.
Now, knowing how to screen record on your MacBook Pro is sometimes not as straightforward as we’d want it to be. To do that, you can use MacBook’s built-in screen recording tool, QuickTime, or use third-party software. The rest of this article will be looking at these ways of screen recording on your MacBook Pro (or Air).
How To Record Your Screen And Share Instantly
Before we begin, if you are looking for a quick solution to this problem and you’re tired of searching how to screen record on MacBook Pro with sound, try this:
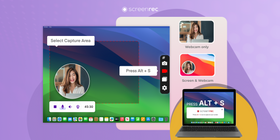
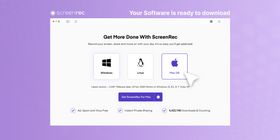
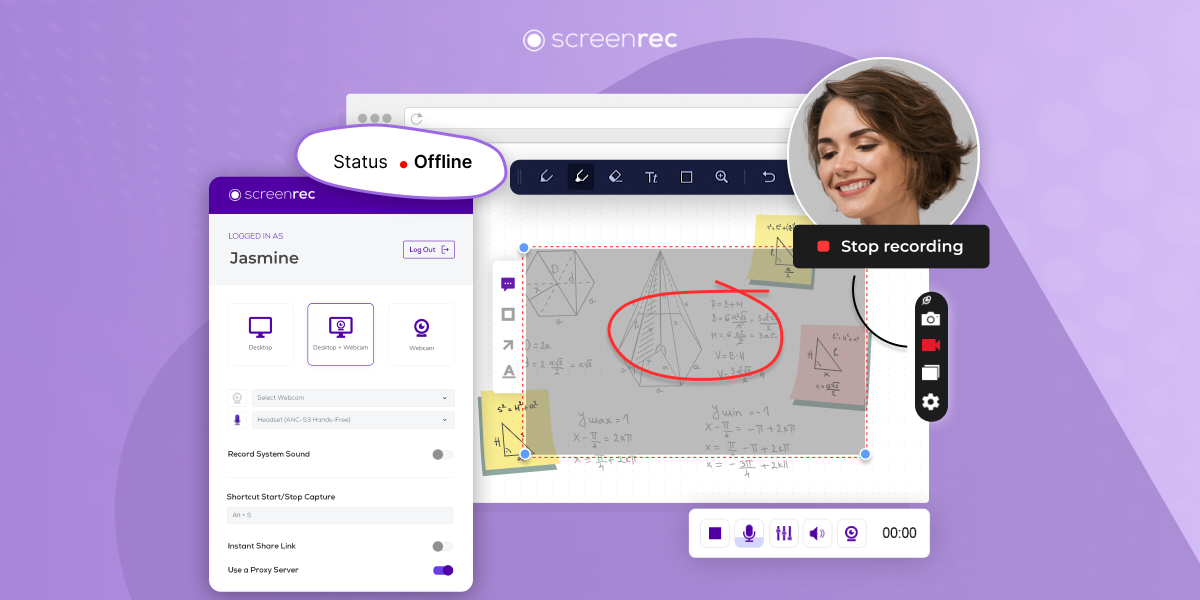
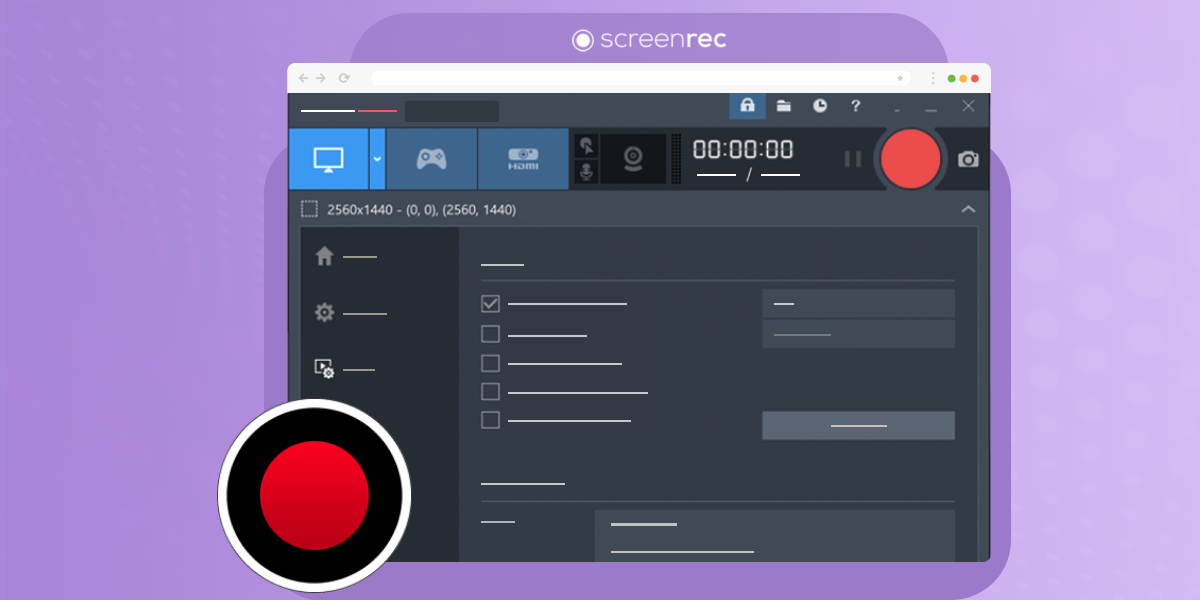
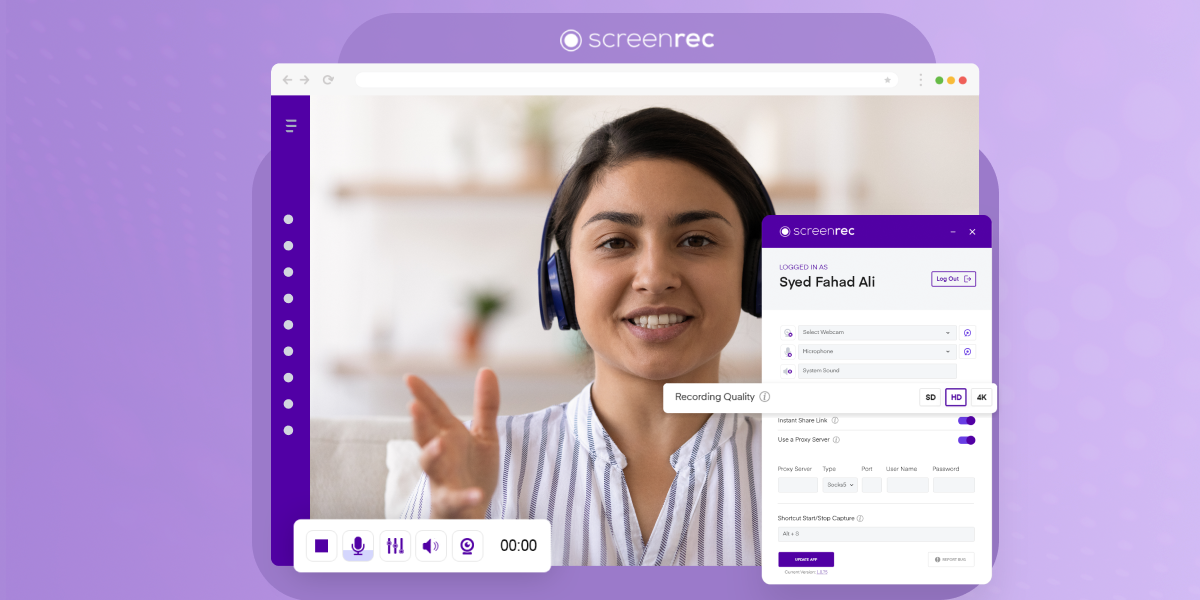
- Download the best screen recorder for Mac – install ScreenRec for free.

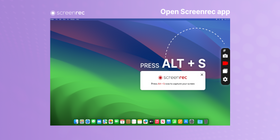
- Start the app and press Option + S
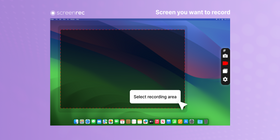
- Select the area of the screen you want to record
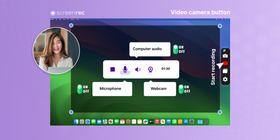
- Click the video camera button to start recording. You can enable/disable the microphone, computer audio, and webcam to enhance your recording.
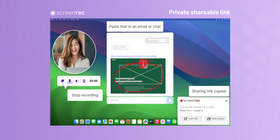
- Stop the recording when you are done and click the link icon if you want to share it. You will be prompted to create a free account. You only need to do this once. Then, ScreenRec will create a private shareable link and copy it right into your clipboard. You can paste that in an email, chat, or anywhere you like.
- Using a free third-party screen recorder like ScreenRec is as easy as easy can be. With it, you can record your screen and share instantly.
If you want to explore the other solutions, read on.
Recording Your Screen On Mac With Native Tools
QuickTime Player

Can you screen record on a MacBook natively? Sort of. QuickTime Player is the built-in tool you can use.
It’s the default media player on MacOS that allows users to view and record various types of digital media content. It also doubles as a screen recording tool. Here is how to record your screen on Mac with QuickTime Player:
1. Launch QuickTime Player
The easiest way to launch QuickTime Player is to press Cmd + Space (Spotlight Search) and type “QuickTime”. The first suggestion will be to open the app. Click on it.
Alternatively, you can open your apps from the Launchpad and, again, type “QuickTime” and click on the icon to launch the app.
2. Record Your Mac Screen
This is far from intuitive, unfortunately. Once you open the app, you will see a window that prompts you to open a file. Ignore it.
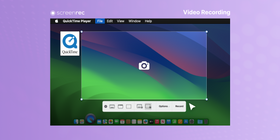
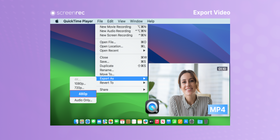
You can start a screen recording by selecting "File" from the menu bar and then selecting "New Screen Recording." This will open the (quite confusing) screen recording interface.
- Select recording area. From the menu, select “Record Entire Screen” or “Record Selected Portion”. Click and drag your mouse to select the area of the screen you want to record. Don’t click “Record” yet.
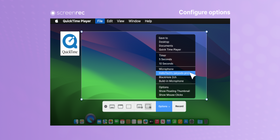
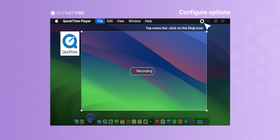
- Configure options. Now, with audio recording, you’ve only got the option to record your voice. Click “Options” to choose a microphone you want to include. This will record your voice. You can also record mouse clicks.
- Click the “Record” button. If you didn’t set a timer from the “Options” menu, you will start recording immediately. But where is the stop button? Good question! You can hardly see it because it’s in the toolbar at the top and it’s tiny. Click on it to stop recording.
3. Find, Export, And Share The Recordings
So, you stopped recording, clicked the x button, and now… where is your video? QuickTime gives you very few clues and it doesn’t ask you to save it. But fear not!
By default, QuickTime saves your screen recordings to the desktop. You can find the file there and open it again. Here, you will run into another problem. It’s huge!
Before sharing your screen recording, you will have to reduce its size. Double-click on the file to open it in QuickTime again. Then go to “File > Export As > 480p”. It won’t be a very small file but still easier to share. Most likely, it will be bigger than Gmail’s 20MB attachment limit, but you can upload it to Google Drive or DropBox and share the link.
What You Can’t Do With QuickTime
When using QuickTime on MacBook Pro, recording your screen means recording what you see on your screen and possibly your voice. You can’t record your webcam and you can’t record the computer audio.
Recording Your Screen With The Mac Screenshot Tool
If you’re wondering how to record your screen on MacBook Pro (or Air) or any MacOS, the Screenshot Tool is a built-in tool you can use. It is a helpful app for capturing still images or short videos of what is displayed on the screen.
1. How to Launch the Screenshot Tool
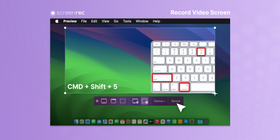
The Screenshot Tool can be launched from the Utility Screen on a MacBook Pro. To open the Screenshot Tool, open the Finder and click on the "Applications'' folder. Next, click on the "Utilities" folder and select "Screenshot" to open the tool. Alternatively, you can also launch the Screenshot Tool by using keyboard shortcuts. Pressing "Command + Shift + 5" will open the screenshot toolbar. This displays options for capturing screenshots and screen recording.
2. How to Start a Screen Recording
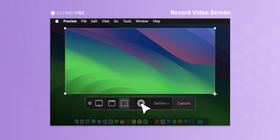
To start a screen recording with the Screenshot Tool, select the "Screen Recording" option from the Screenshot Tool interface. You can then choose to record the entire screen or a portion of it by dragging the mouse to the desired area. Once the recording has started, you can pause or stop the recording by clicking on the corresponding buttons in the menu bar.
The Screenshot Tool also offers options for recording your microphone during a screen recording. This can be done by selecting the appropriate option from the Screenshot Tool interface.
Limitations of Native Tools
If MacBook screen recording native tools were perfect, there would be no need for third-party software. However, they are not. While the ability to take a screenshot is relatively simple, macOS (and the apps it hosts) has become better over time. Faced with the myriad problems posed by the sharing and distribution of digital content. In other words, because we can view movies and other media on our computers, the OS can’t be held responsible for copyright infringement.
Third-Party Apps for Screen Recording
If you want to know how to screen record on MacBook Pro without Quicktime, here are some stellar third-party apps to try out. The top three are discussed briefly below:
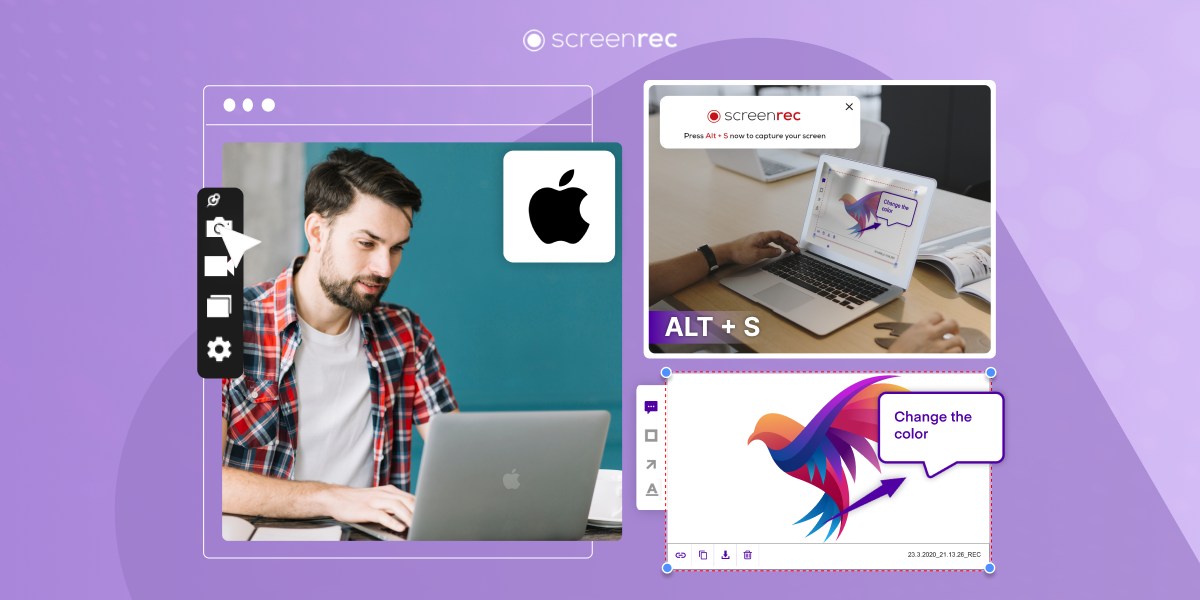
ScreenRec
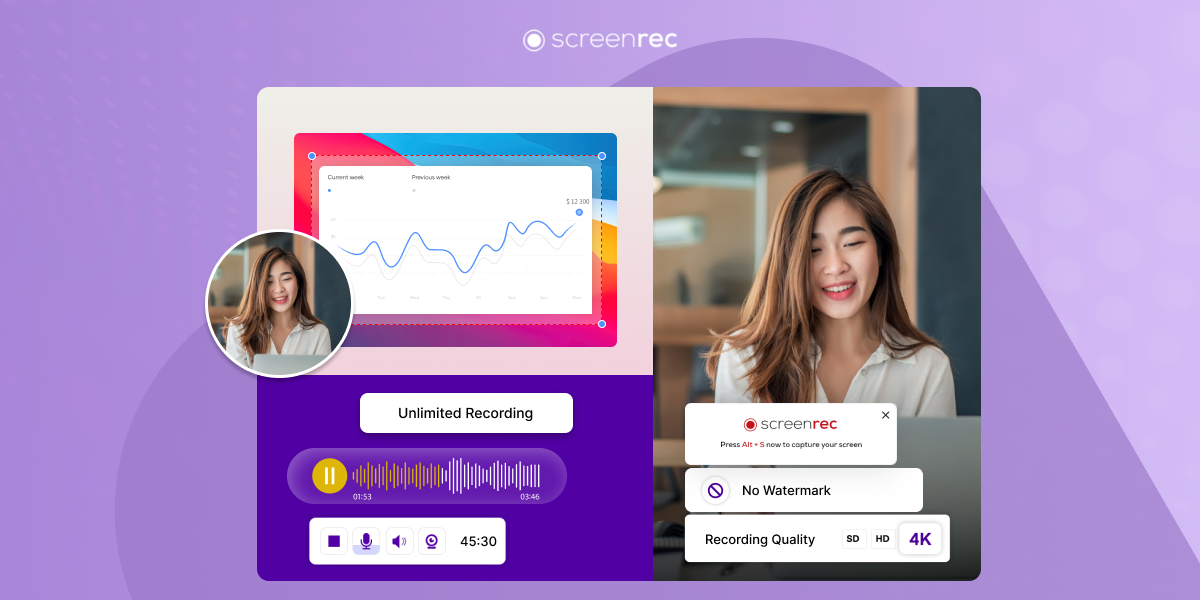
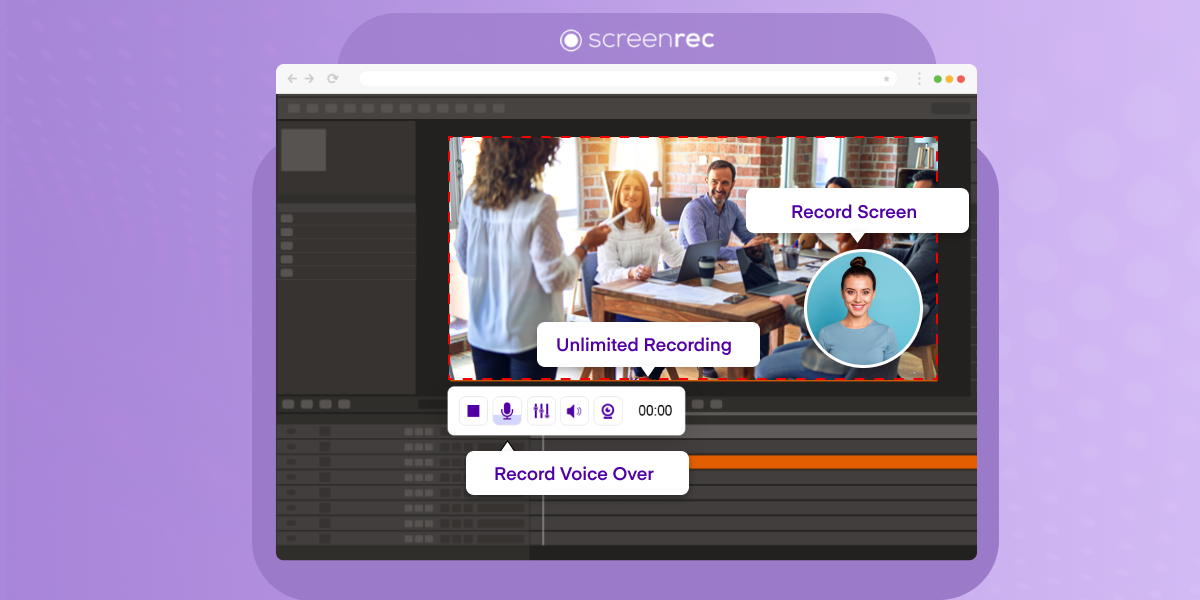
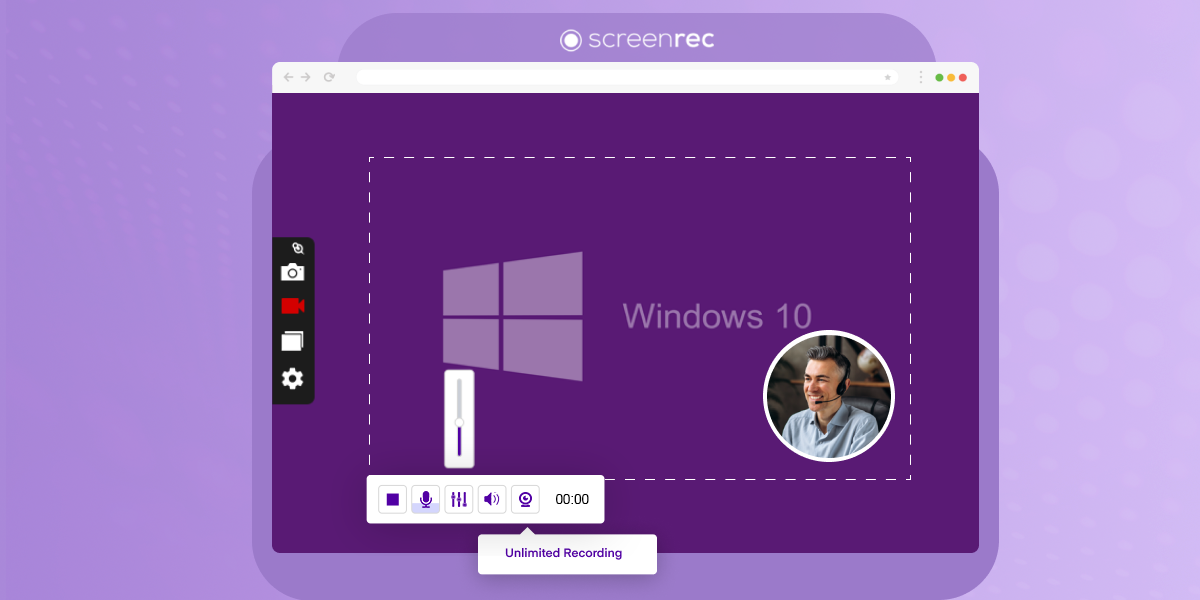
ScreenRec is a free screen recording app that allows users to capture high-quality screen recordings and screenshots. One of the key advantages of ScreenRec is its ability to record unlimited video and audio without any watermarks or no time limits . This is in contrast to the native Mac screen recorder, which has a time limit of 60 seconds and lacks advanced editing features. With ScreenRec, screen recording on MacBook just gets better.
ScreenRec also offers 2GB free cloud storage for your recordings. There is no need to upload anything! When you are done capturing, you instantly receive a private sharing link, making it easy to share your recordings with others.
Additionally, ScreenRec offers the ability to edit and annotate videos after recording. This is not possible with the native Mac screen recorder. This will come in handy for remote workers, educators, and businesses.
Snagit
Snagit offers a range of advanced features for capturing and editing screen recordings. One of the key advantages of Snagit is its powerful editing features. They allow you to add text, arrows, shapes, and other annotations to your recordings.
The software also offers a wide range of customization options for annotations, enabling you to choose from various colors, fonts, and styles to match your preferences and branding.
Beyond basic annotations, Snagit also boasts advanced video editing features that cater to more complex editing needs. You can effortlessly crop videos to remove unwanted portions, resize them to fit different aspect ratios, and apply a variety of visual effects to enhance the overall look and feel of your recordings.
Snagit is a great tool for capturing and editing screen recordings, but it does have a few drawbacks. The software can be expensive for some users, and the learning curve can be steep for those who are new to video editing. Additionally, Snagit is not compatible with all operating systems, so users may need to find an alternative if they are using a less common OS.
Screenflow
Screenflow is a professional-grade screen recording app that offers a range of advanced features. It is mostly used for creating high-quality video content. One of the key advantages of Screenflow is its ability to record high-quality video and audio. It can capture from multiple sources, including webcams and microphones. The app also offers advanced editing features, such as the ability to add text, images, and animations to recordings.
Screenflow also offers advanced video editing features. This includes the ability to add transitions, effects, and animations to videos. The app also allows users to export videos in a range of formats and resolutions.
While Screenflow is a powerful tool for creating high-quality video content, it does have a few shortcomings. One is that it can be quite expensive, especially for casual users. Additionally, the app can be complex to use, which may make it challenging for beginners.
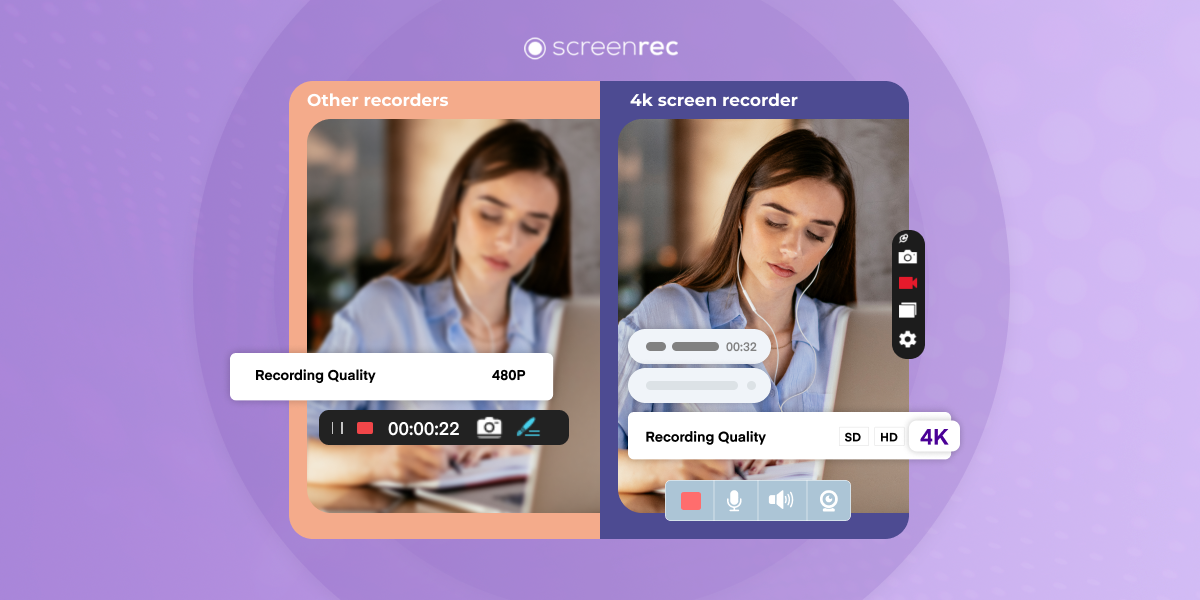
More formatting options, video quality, and advanced editing features set third-party apps apart. But that doesn't guarantee having high-quality screen recordings.
You can find a complete list of screen recording apps for Mac here.
Tips for Effective Screen Recording
Choose the right resolution and format
Before starting your screen recording, it's important to choose the right resolution and format that suits your needs. You might not always want the highest quality. You also have to make sure that your computer meets the system requirements for the resolution and format you choose. Recording in a higher resolution or format may require more processing power. This can slow down your computer or result in choppy recordings.
You might choose a lower resolution and format for a short, casual video that you plan to share with friends and family. On the other hand, you might choose a higher resolution and format for a professional video that you plan to use for business purposes.
Set up audio and video settings
The audio and video settings you choose can impact the quality and clarity of your recording.
For video quality, it's important to choose the right frame rate and bitrate to ensure that your recording is smooth and clear. The frame rate determines how many frames are captured per second, and a higher frame rate can result in smoother video. The bitrate determines the quality of the video and audio, and a higher bitrate can result in a clearer recording.
For audio quality, it's important to choose the right microphone and adjust the volume to ensure that your voice is clear and audible. It's also important to consider the source of any background noise, such as fans or music, and keep it minimal.
Best practices for editing and sharing
- Edit for clarity and brevity. Keep your video concise and easy to understand.
- Add a call to action. Encourage viewers to take a specific action, such as visiting your website or subscribing to your channel.
- Choose the right video format. Select the format that is most appropriate for your content and audience.
- Use visuals such as text overlays, arrows, and highlights, to emphasize key points and make the recording more engaging. Add visuals to make your video more visually appealing and engaging.
- Optimize for sharing. Make sure your video is easy to share on social media and other platforms.
- Protect your privacy. Be cautious about what personal information you share in your video.
Table of comparison between native tools and third-party apps
Native Tool | Third-party apps | |
Features | Basic | Comes with advanced editing features |
Ease of use | Easy to use | Intuitive and easy-to-use |
Price | Free | Various options |
Recording quality | High quality | More options to adjust quality |
Customization | Basic | High degree of customization |
FAQ
To start a screen recording on your MacBook Pro, you can use ScreenRec, another third-party app, or the built-in QuickTime Player.
Yes, you can record audio while doing a screen recording on your MacBook Pro. You can set your audio input option to be from your MacBook Pro or from a microphone. The exact settings depend on your screen recording app. If you are using the default app, you need to go to “Options” before starting the recording.
To stop a screen recording on your MacBook Pro, click on the Stop button in the top bar if you are using QuickTime Player. Alternatively, look for a Stop button in the recording software you are using.
Yes, you can edit the screen recording after you have stopped it using video editing software such as iMovie or Final Cut Pro.
By default, your screen recordings will be saved to the desktop. You can specify a folder on your MacBook by clicking on File > Save in QuickTime Player. Alternatively, you can use File > Export As to save your recording in the preferred quality.
You can record either the entire screen or just a portion of it, depending on your preference and the recording software you are using.
Screen recording on MacBook Pro is available on all models that are running MacOS X Yosemite 10.10 or later.
The maximum recording time for screen recording on MacBook Pro is dependent on the storage capacity of your MacBook Pro. Other than that, there is no limit, their support says .
Yes, you can use keyboard shortcuts for screen recording on your MacBook Pro. One of these is pressing Ctrl+Shift+5. This will bring up the default screen capture utility. Each third-party app will have its own shortcuts. For ScreenRec, the default key combo is Alt + S.
Conclusion
When it comes to how to screen record on MacBook Pro, we can say you’re spoiled for choice! There are decent native screen recording tools for Mac and a number of third-party Mac screen recorder tools.
Native tools are relatively easy to use and free, but they offer basic features and customization options. Third-party apps, on the other hand, come with advanced editing features, more customization options, and a wider range of video quality and format choices. Ultimately, the best screen recording tool is the one that meets your specific requirements and allows you to create high-quality recordings efficiently.
References and Further Reading
- The Best Screen Capture Software For Mac
- Salient Fact About Screen Recording Meetings
- The Future Of Remote Work
- How To Make Short Instructional Videos
- High Quality Video Screen Recorders
- How To Easily Make A Demo Video

![⏰Best 8 No Lag Screen Recorders [Comparison]](https://screenrec.com/assets_dist/screenrec/media/no-lag-screen-recorder/no-lag-screen-recorder-comparison.png)
![8 Best Free Screen Recorders With No Watermark [Upd. 2026]](https://screenrec.com/assets_dist/screenrec/media/screen-recorder-no-watermark/screen-recorder-no-watermark.png)


DON’T MISS OUT
Get updates on new articles, webinars and other opportunities: