How To Record A Skype For Business Meeting
Having effective virtual meetings is essential for all-sized organizations. Oftentimes, it’s equally important to capture what’s happening in your virtual conference room. Fortunately, with Skype for Business, recording a meeting is quite simple. In this guide, we’ll show you how to easily record Skype calls in Skype for Business and share them instantly no matter how long the recording is.

Option #1: Record and Share Instantly
It’s one thing to simply use an app to record Skype video calls. It’s a whole other ball game when you want to be able to share it instantly. Watch the video to learn how to do this or read on.
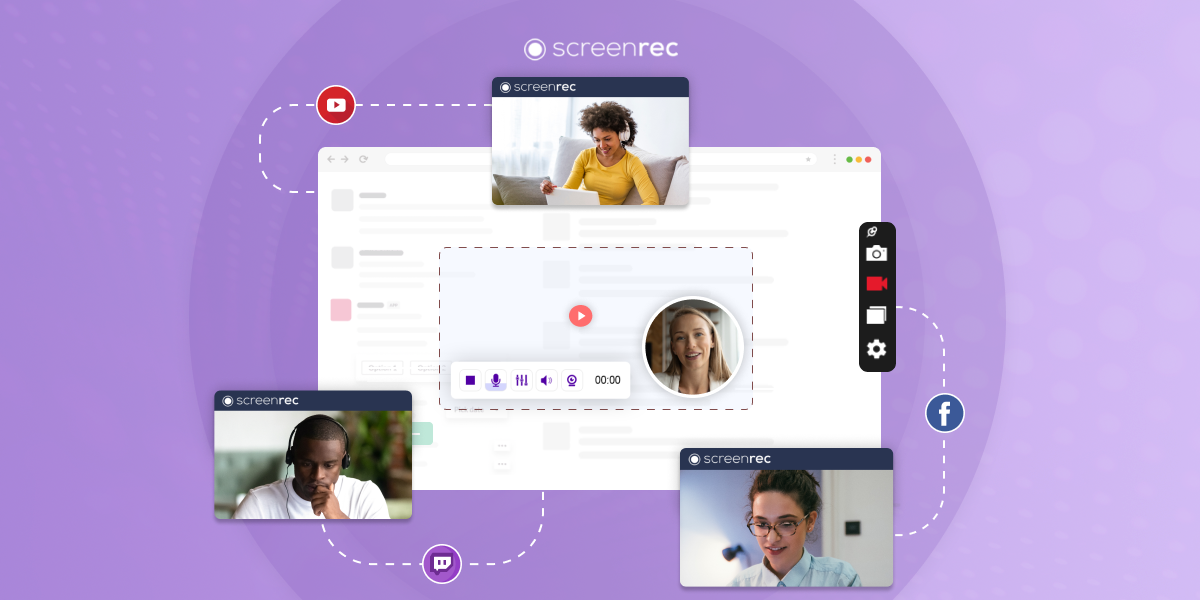
Luckily there is ScreenRec. And, this may seem like a bit of bragging, but we daresay that ScreenRec is the best free Skype video call recorder available for download. Not only can you record video conference calls, but you can also share them instantly via a private link. But before you dive in, please make sure there are no legal reasons to stop you from recording your meetings.
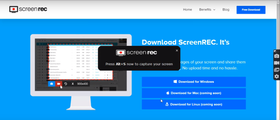
Step 1: Download ScreenRec
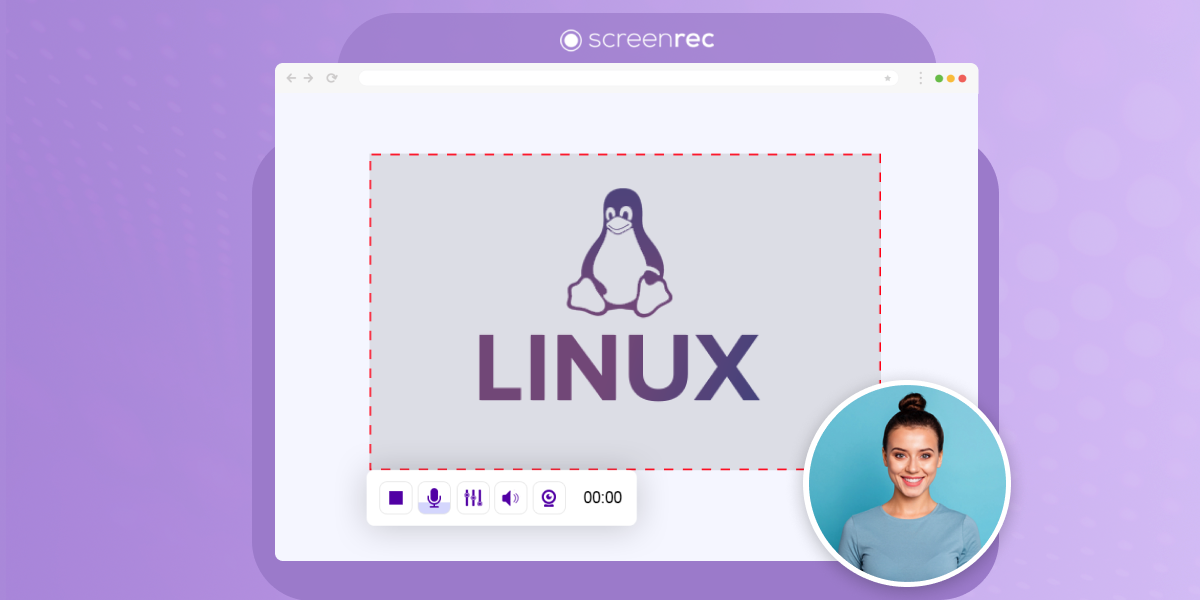
Download and install ScreenRec - screen recorder for Skype meetings for free.
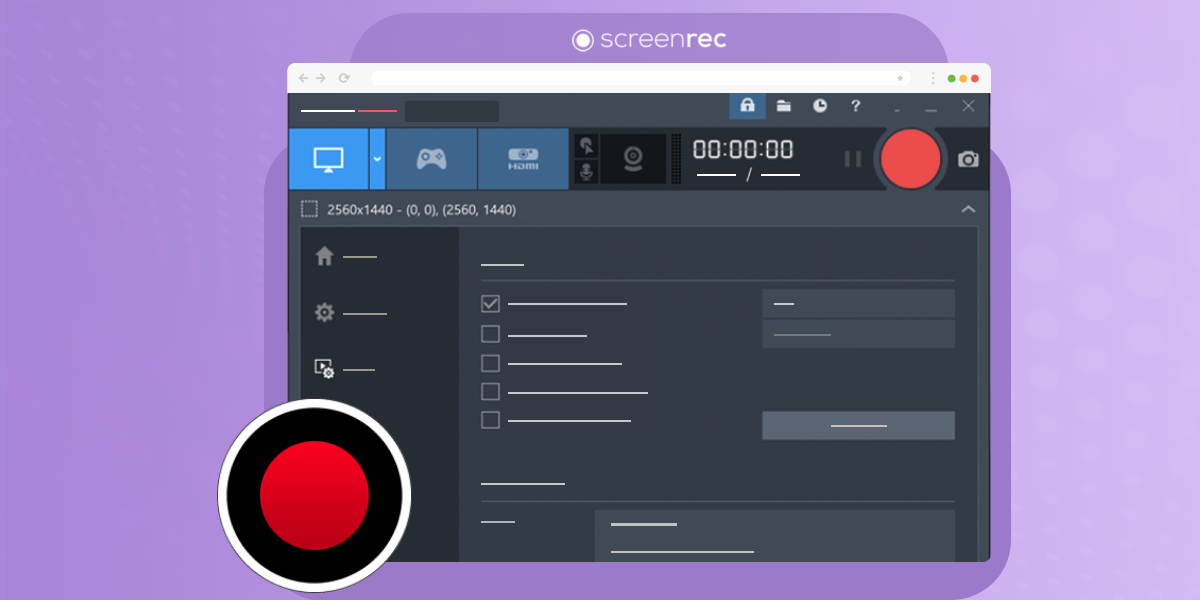
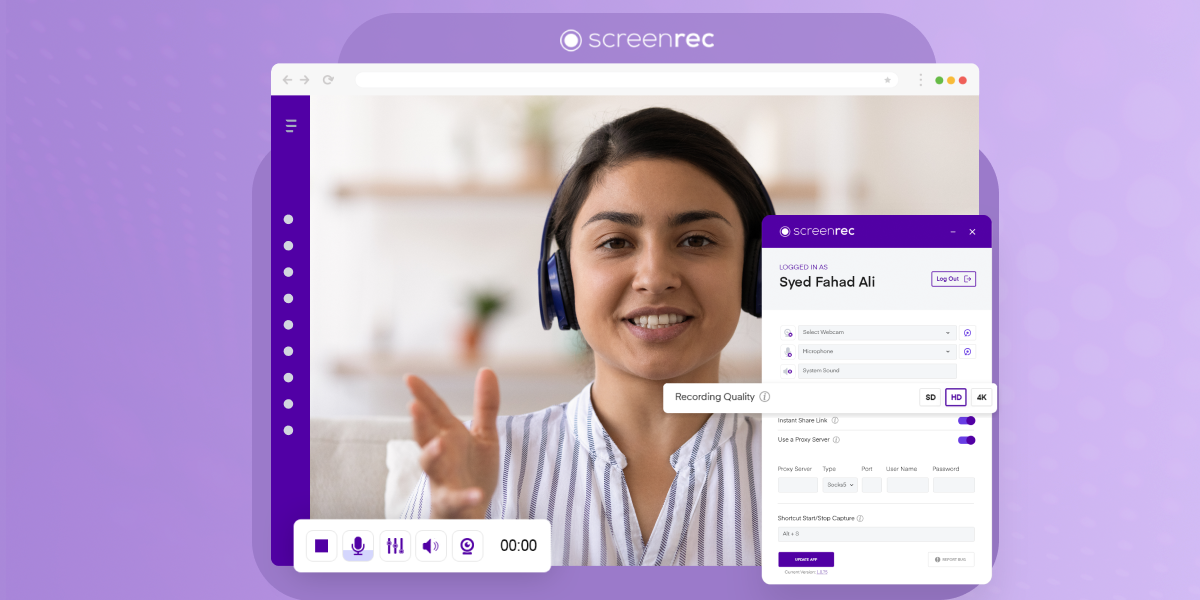
Step 2: Configure the app
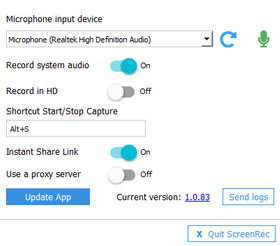
Once ScreenRec is downloaded, the menu strip will appear on your screen. Click the gear icon in the menu to open up settings. You have the option of recording either microphone audio, system audio, or both.
- Your microphone audio is recorded by default. If you wish to turn this off, click the microphone icon.
- To record system audio, slide the Record System Audio toggle.
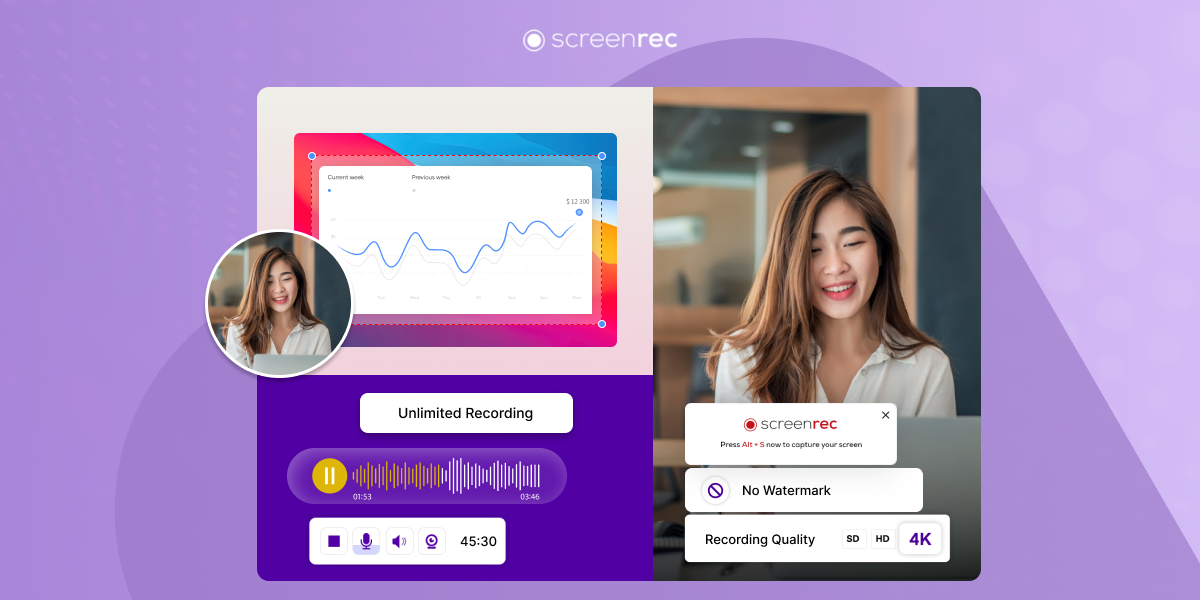
- You can also choose to record your video and audio in high quality. If you do, slide the toggle next to Record in HD.
Make sure Instant Share Link is on and you’re ready to get started with free Skype recording.
Step 3: Open up Skype for Business
Go ahead and log into your Skype for Business meeting. Be sure to do so early, to give yourself enough time to set up the video recorder and prepare.
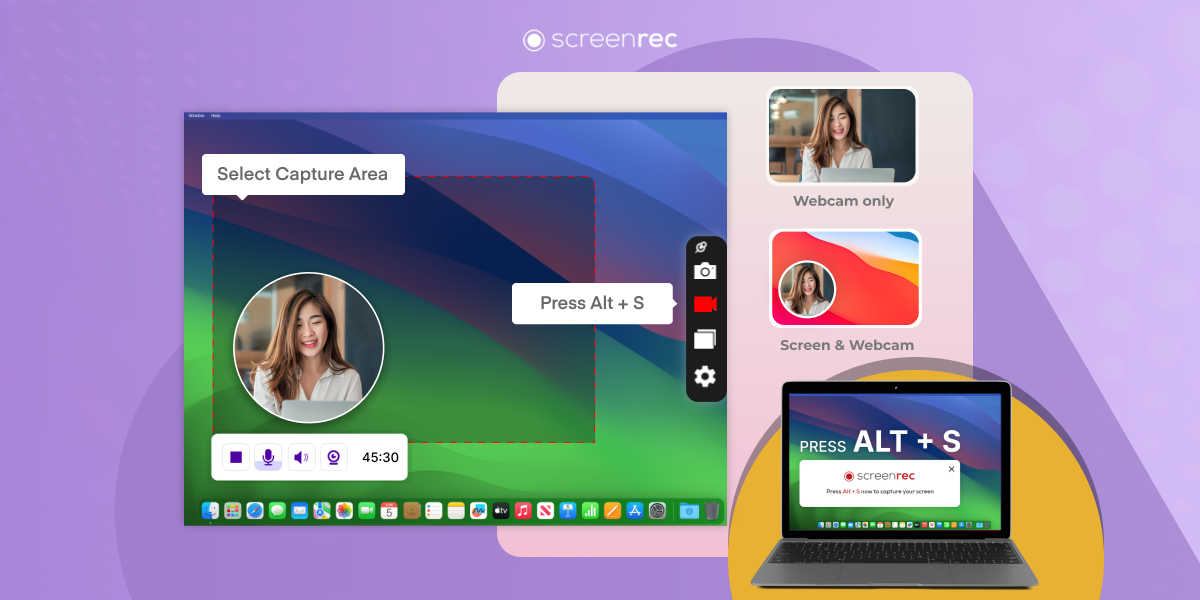
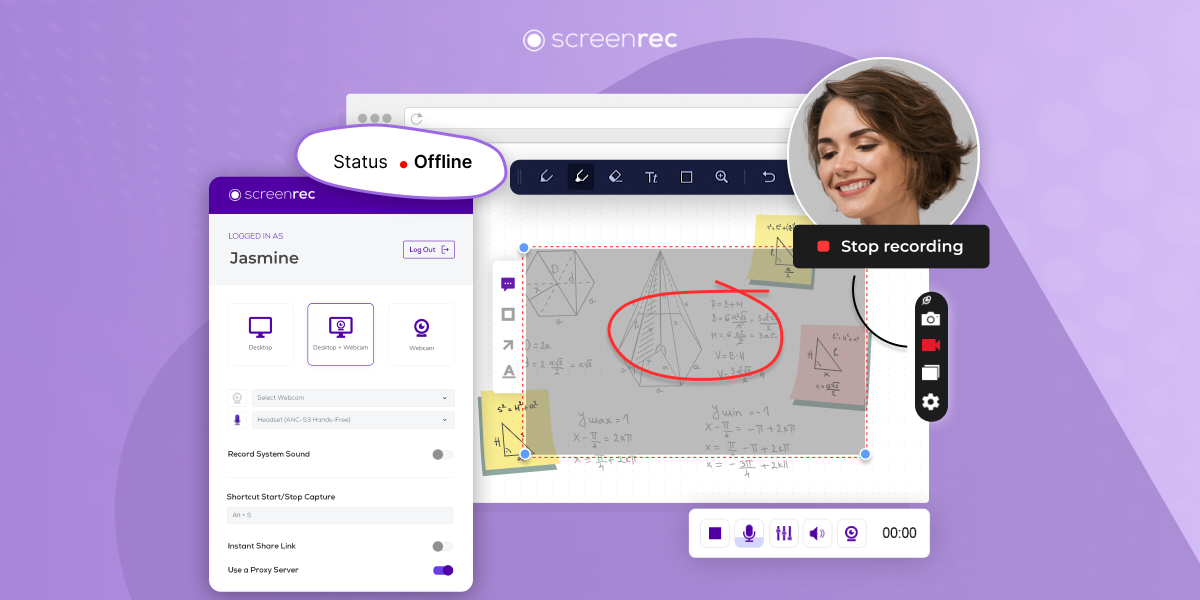
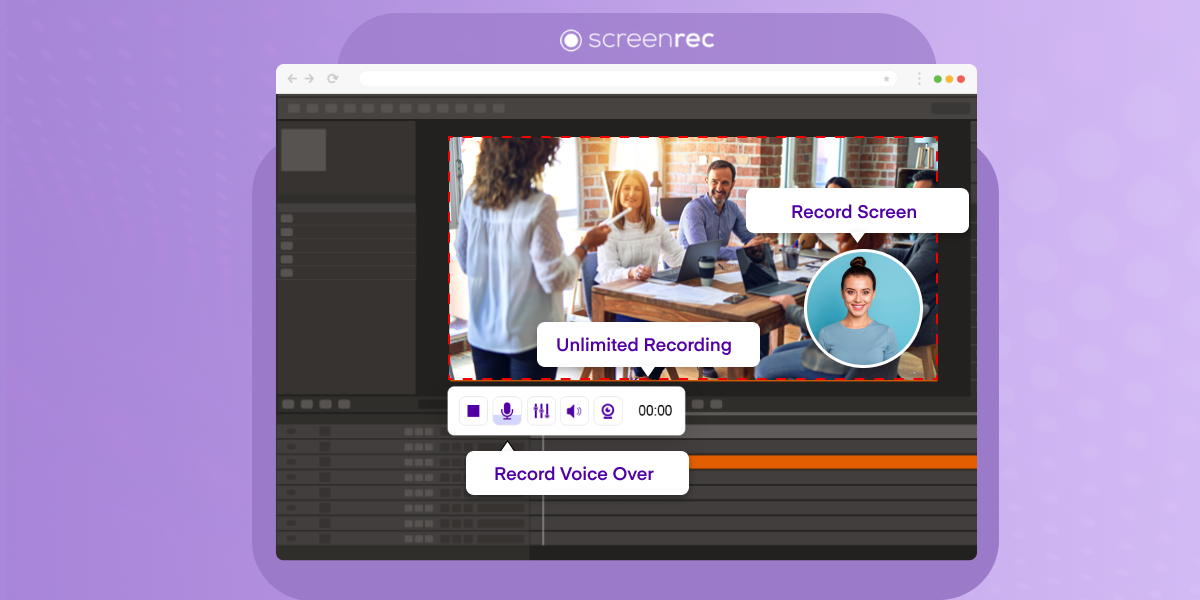
Step 4: Select your capture area
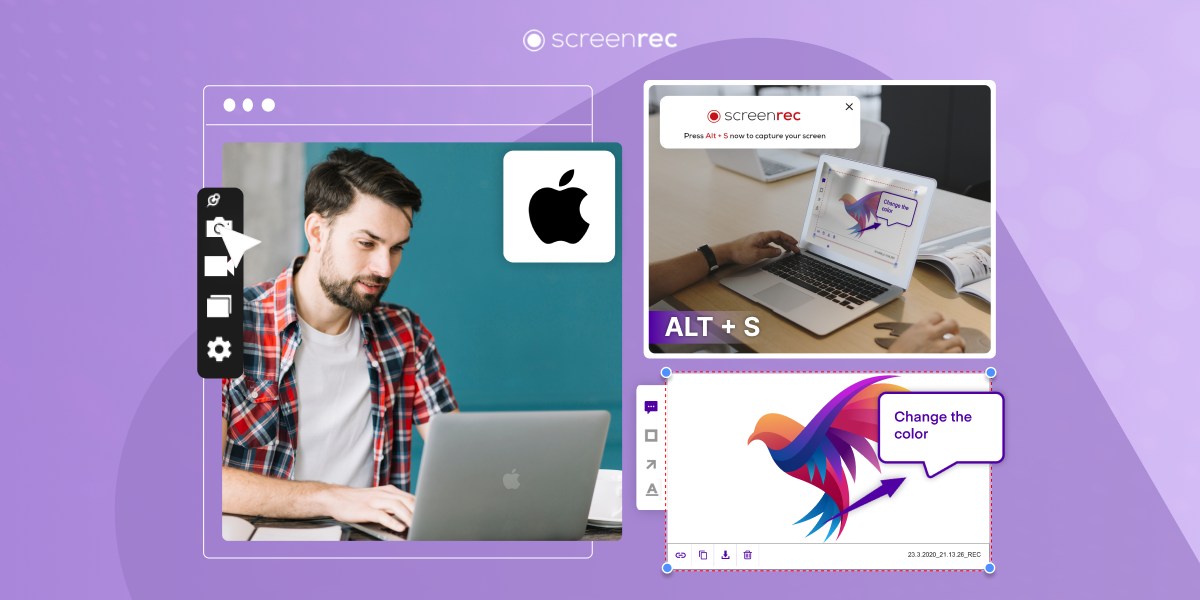
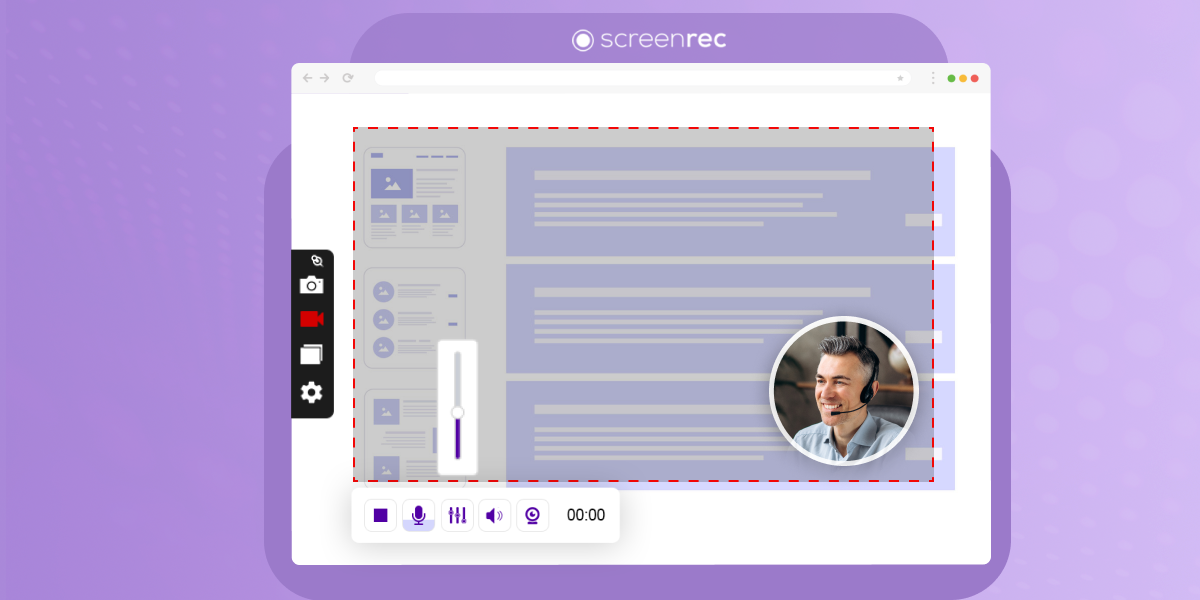
With ScreenRec downloaded and ready to go, press Alt + S on your keyboard to open the app.
From there, you can easily crop the area of your screen that you wish to record. If your meeting will require you to leave the Skype window and use a browser or other applications, select your entire screen by dragging your mouse from one corner diagonally down to the opposite corner.
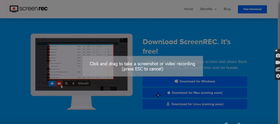
If you want to record only the meeting but have other windows open and visible, simply click and drag to crop the Skype window.
Step 5: Begin recording
ScreenRec is extremely simple recording software. Once your capture area is selected, click the camera icon to begin recording. Commence with your meeting as ScreenRec records in the background.
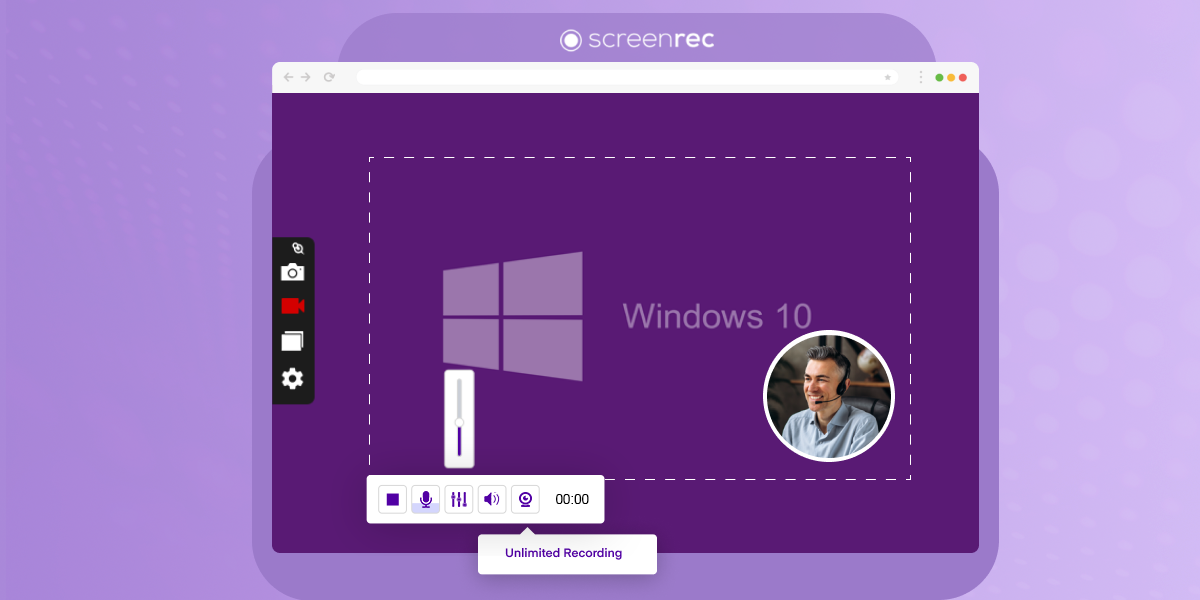
Step 6: Stop recording and share
Press Alt + S again to stop the video conference recording. A few seconds later, a private sharing link will be automatically created and copied to your clipboard. You will see this notification on your screen.
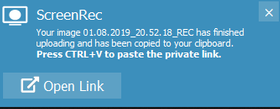
Share this link with anyone and they’ll be able to view your recording instantly.
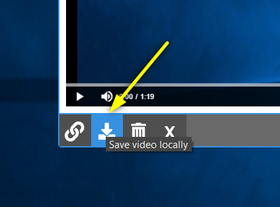
Bonus tip: If you want to, you can easily save the recording as an mp4 file on your computer. Just go to Gallery in the ScreenRec menu, click the eye icon to view your video and then click Save video locally.
And there you have it! No need to wait forever for the file to upload for sharing. Just a few clicks with this free video call recorder for Skype and you’re all done.
Option #2: Use the built-in Skype recorder
You may be wondering, Can I record Skype for Business calls using the app itself?
The answer is yes. Skype for Business recording can be done right within the app. You can record video chats, voice calls, or conference calls with the built-in Skype for Business feature.
It’s fairly easy to access, but we must warn you that there are a few drawbacks to using the built-in call recorder:
- First and foremost, users have reported a missing or disappearing “Start Recording” button.
- Secondly, Skype occasionally records either just the video or just the audio. Successfully recording both video and audio is a game of chance, and what’s worse is you won’t find out that there was an error until you watch the playback, after the meeting has ended.
These bugs tend to be fixed with updates and troubleshooting, so be sure to give it a test run before your meeting starts. Here’s how.
Step 1: Click the More Options icon (three dots) and select Start Recording
If your computer and Skype for Business program is configured correctly, you should be able to easily record with the click of a button. However, the option to record may not be available (as in the Start Recording button may be gray) if your audio is not connected. Click the microphone icon to enable audio and you should be able to record.
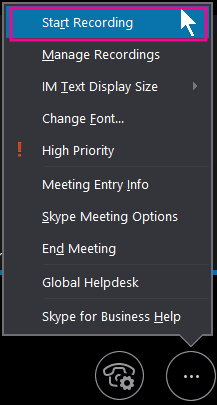
(Source)
Step 2: Record the meeting
Once you hit Start Recording recording should begin automatically. You can pause or stop at any time using the controls at the bottom of your screen.

(Source)
Step 3: Stop Recording
When the meeting is over, hit the Stop icon. Your video is automatically saved in Videos > Lync Recordings. You can change this location, however, by clicking the Tools menu from the main Skype window and choosing Recording Manager. From there, select Browse and choose the folder you wish to save your videos to.
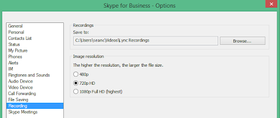
(Source)
Step 4: Share
To share the recording you have two options; you can either upload to an email or you can copy and post the video to a shared location like OneDrive or similar platform. Wait a while for the video to render and upload and it’ll be ready for viewing.
Using the Skype for Business built-in recording feature may not be the easiest or most reliable, but it does allow you to record meetings without needing to download additional software.
Conclusion
When deciding upon the best recorder for Skype calls, you must keep a few things in mind: Is it reliable? Is sharing easy? Can I record in HD? Is it easy to access?
Using the built-in feature in Skype for Business to record meetings can be quite troublesome, but it has its perks.
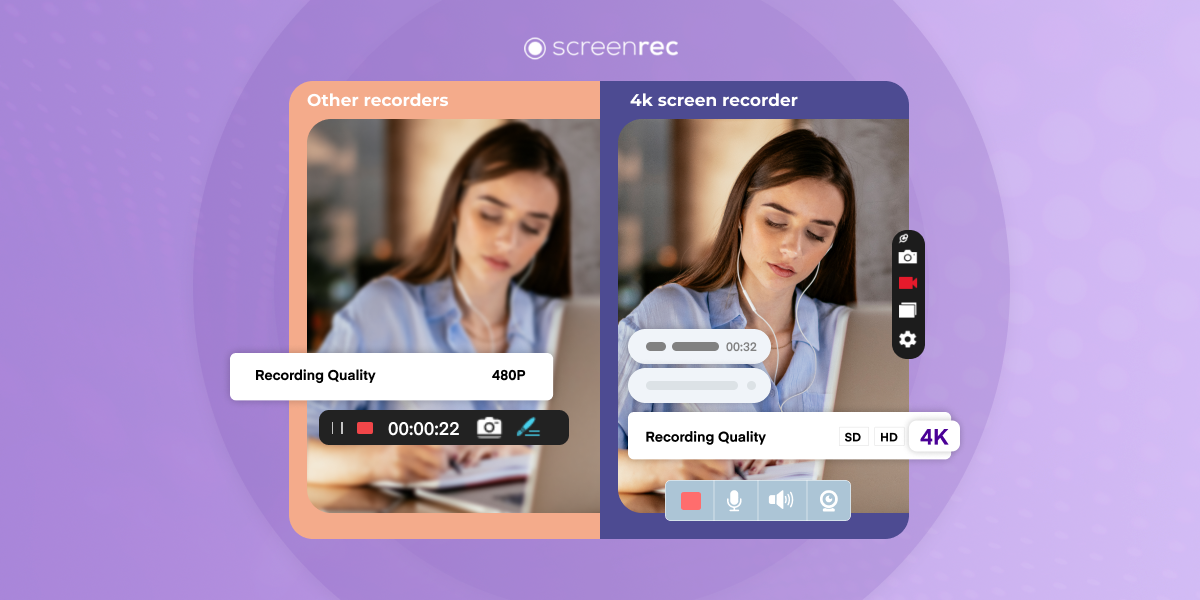
ScreenRec, however, ticks all of the boxes with little issue. It is reliable, makes sharing easy with an automatic link, records in HD, and can be accessed with a simple hotkey. Nonetheless, we leave the decision up to you. Maybe test both solutions and see what works best for you.
References and Further Reading?
- Troubleshooting with Skype for Business
- Ultimate Guide to Virtual Meetings
- How other HD recorders compare
- Skype for Business is now a part of Microsoft Teams


![⏰Best 8 No Lag Screen Recorders [Comparison]](https://screenrec.com/assets_dist/screenrec/media/no-lag-screen-recorder/no-lag-screen-recorder-comparison.png)
![8 Best Free Screen Recorders With No Watermark [Upd. 2026]](https://screenrec.com/assets_dist/screenrec/media/screen-recorder-no-watermark/screen-recorder-no-watermark.png)


DON’T MISS OUT
Get updates on new articles, webinars and other opportunities: