How To Edit Screenshots on Mac: 2 Ways + Tips
In today's digital age, screenshots have become an indispensable tool – often used for communication, collaboration, and documentation.
Whether you're an educator, professional, or casual user, capturing and sharing has become second nature. Yet, merely taking a screenshot isn't always enough to effectively convey your message.

Knowing how to take a screenshot on a Mac is one thing, knowing how to edit screenshots on Mac is another. Is there even a Mac screenshot editor? Can you use the built-in tools to do this task?
We’ll answer these and many other questions in this article. So, how can you edit screenshots on Mac?
How To Edit Screenshots On Mac
First things first, let's learn how to edit on the software with a wide palette, ScreenRec.
1. How To Edit Screenshots on Mac Using ScreenRec
To get access and use ScreenRec, follow these steps:
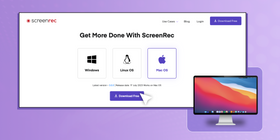
Simply open the site and download the app

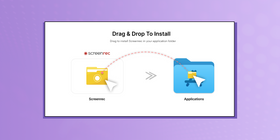
Once downloaded, install and set it up, following the guide.
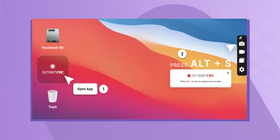
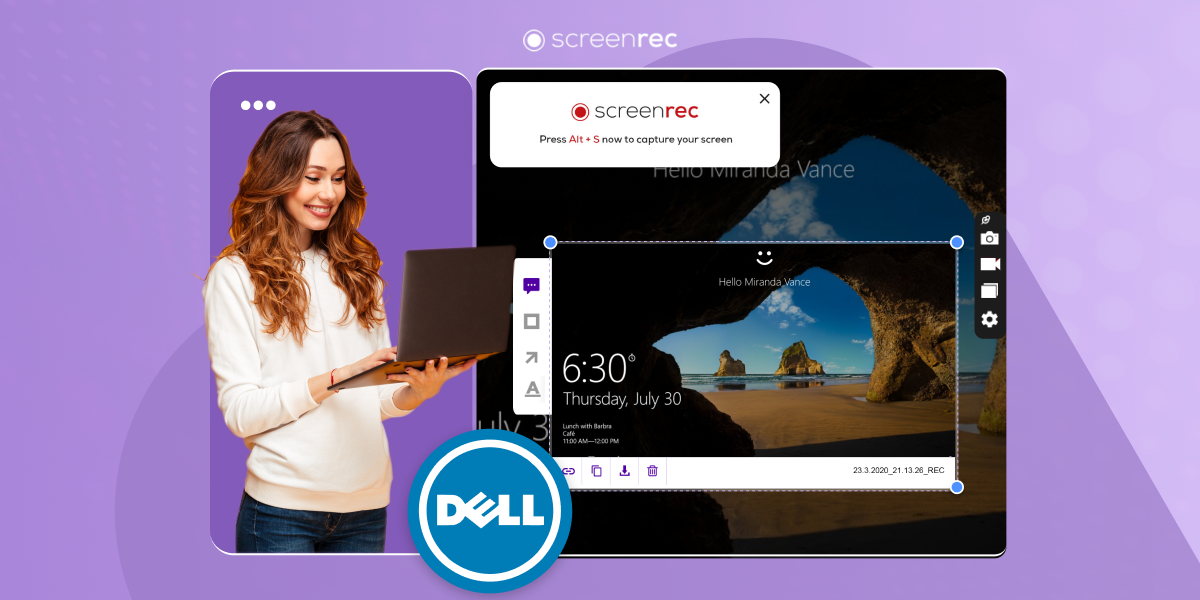
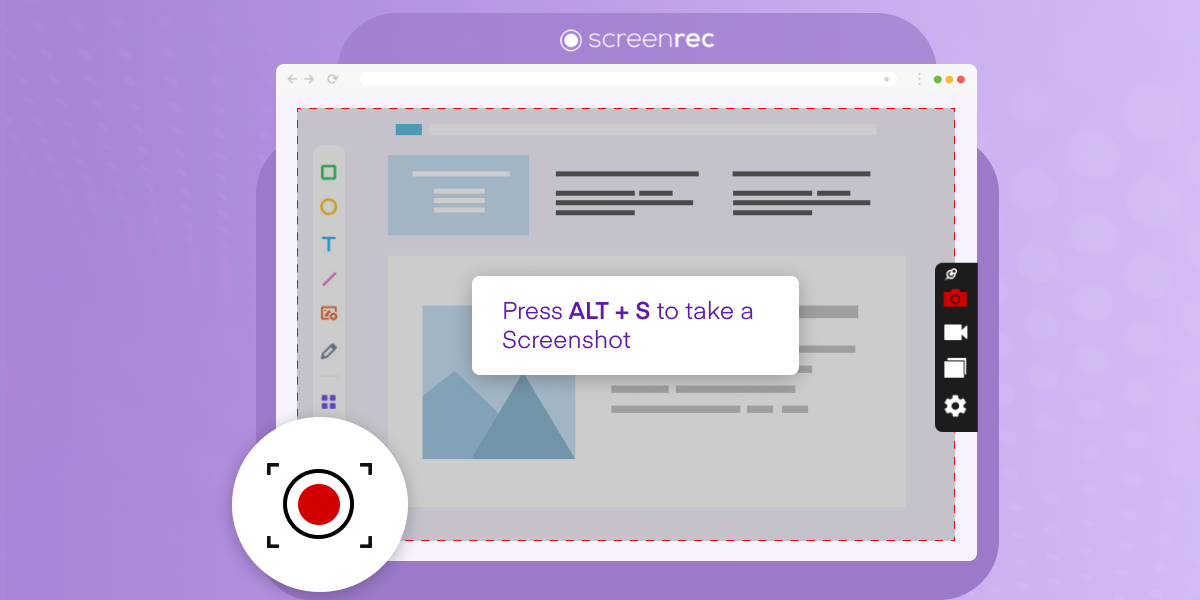
Simply open ScreenRec and press Alt + S to start capturing.
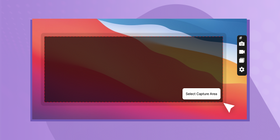
Click and drag your mouse across the screen to select the area you want to capture.
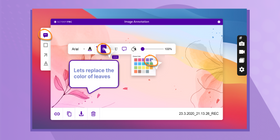
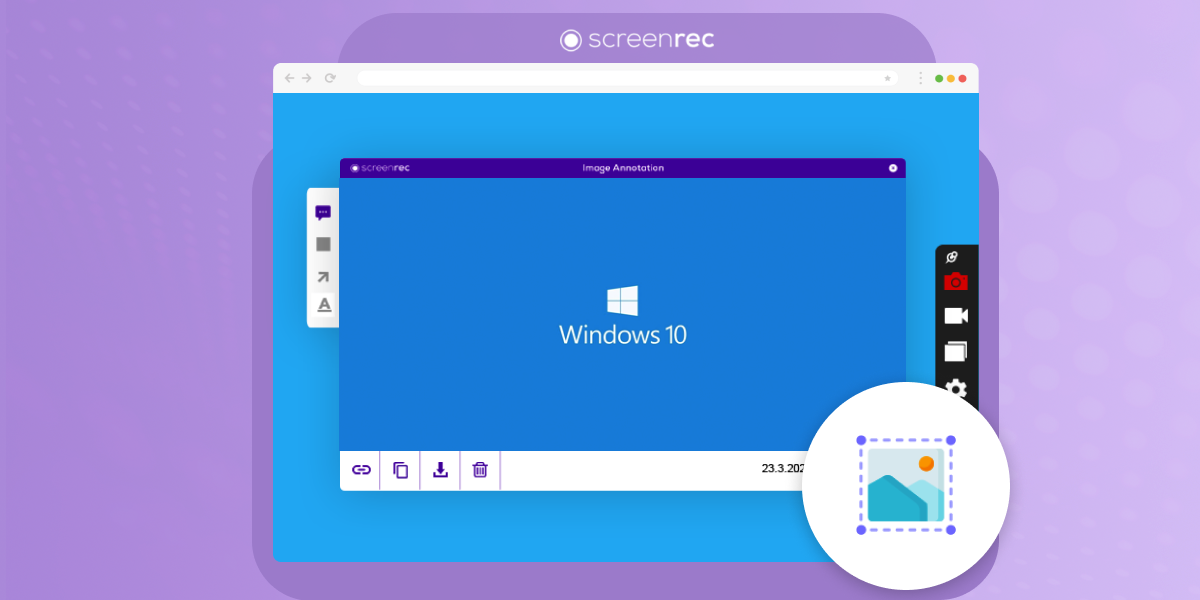
This will show the markup toolbar where you can add shapes, arrows, comments, and text to your screenshot.
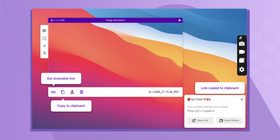
When you’re happy, click the Link icon at the bottom to share your screenshot. You can also click the Copy button to copy your screenshot to the clipboard.
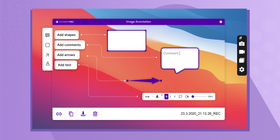
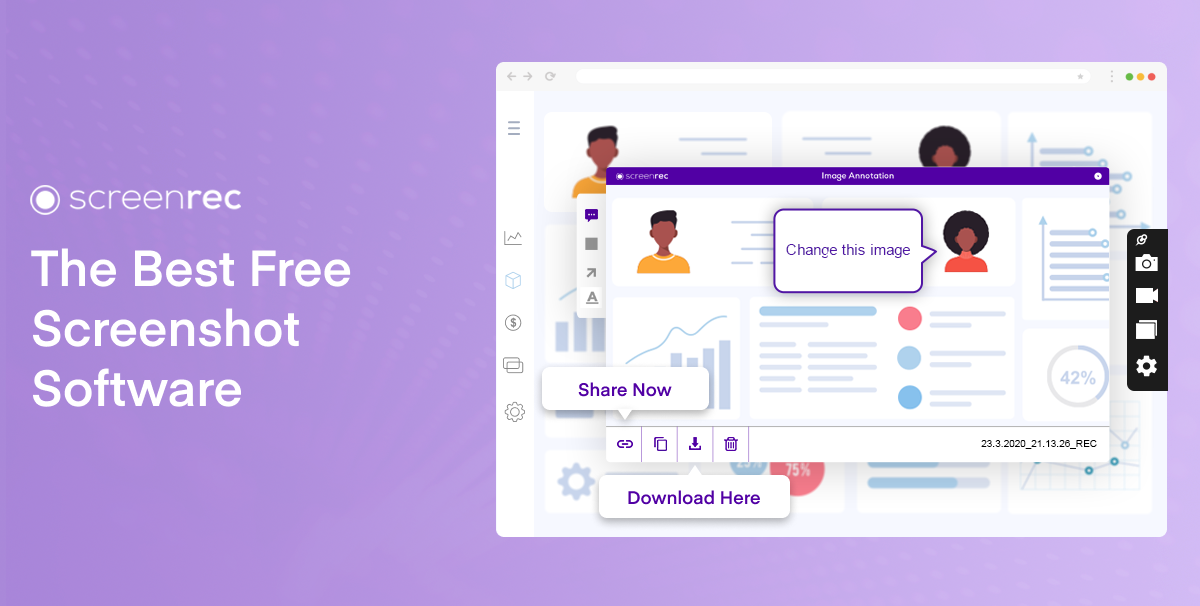
ScreenRec’s screenshot editing tools
ScreenRec offers tools to solve everyday post-screenshot editing problems. It has customizable editing tools that will make your life easier, from fonts to colors and outlines.
The best part about these tools is they are intuitive. ScreenRec’s editing tools feature
Arrow - Click and drag to add an arrow. Change the color and weight of the arrow from the pop-up menu.
Text - Add text directly onto the image. Modify the font face, color, and size from the pop-up menu.
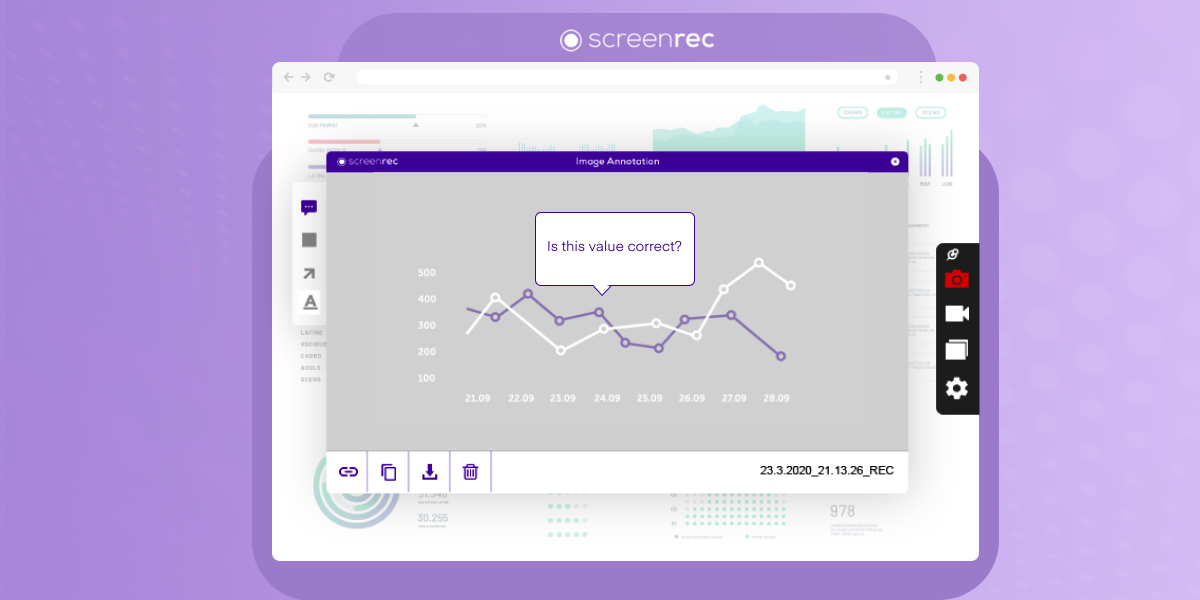
Comment - Add a comment bubble. You can change the font face, color, and size, as well as the outline and color of the bubble.
Shape - Add a shape to attract attention to certain parts of your screenshot. You can change the color and outline of the shape.

2. MacOS’ Screenshot Editing Tools
If you have decided not to take the easy path (or you can’t install apps on your computer), and still want to figure things out with Mac’s screenshot editing tools, we got you.
Accessing Mac’s Screenshot Preview
macOS offers a convenient built-in preview feature that allows you to make quick edits right after capturing the image.
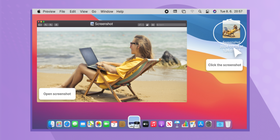
If you don’t know how to edit a screenshot, read on. To access this, wait for the thumbnail to appear after taking the screenshot. Click on the thumbnail quickly to access the editing tools.
You can also open the screenshot in the Preview application by locating it on your desktop and double-clicking the image file.
The Editing Toolbar
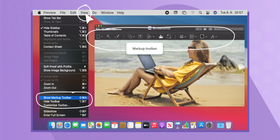
The toolbar is your second stop for editing screenshots on Mac. It offers various tools for quick and convenient customization of your visuals. Click the Markup tool to access options to crop, annotate, rotate, adjust colors, and resize. The editing toolbar allows you to fine-tune your images.
How To Edit A Screenshot: Basic Tools
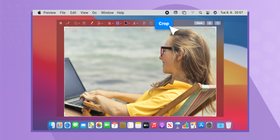
Crop and Resize
Cropping allows you to focus on the most important elements of an image by removing unwanted areas. Resizing lets you change the image's dimensions, making it suitable for various platforms and purposes.
If you’re wondering how to crop a Mac screenshot, you’re not alone. It takes some time to figure it out. Here are the steps:
Click the screenshot’s thumbnail after taking or open a screenshot in Preview.
Click the Markup toolbar icon to reveal all the available tools or click View in the top menu and then Show Markup Toolbar.
Click and drag your mouse to select the cropping area. Avoid areas with text because the mouse turns into a text selection tool and you will not be able to select a cropping area.
Click the Crop button in the toolbar to crop your screenshot.

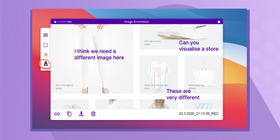
Add Text and Annotations
Text and annotations provide context and clarity to your images. Thereby enhancing their storytelling potential. With Mac's editing tools, easily add text boxes and annotations to highlight specific details. Or provide explanations.
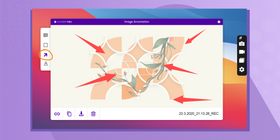
Draw Shapes and Arrows
Whether you want to emphasize a specific detail or create a visual flow, these tools help you easily achieve that. You can also do free-hand drawing.
Highlight Important Sections
On a Mac, you can use various editing tools to add semi-transparent colored shapes or use the marker tool to emphasize specific areas of the text.
Advanced Editing Features
At this point, you don’t have a basic edit screenshot Mac problem. Advanced editing sets your work apart from the rest. Let's explore these advanced editing tools that will truly take your screenshots to the next level.
Use Markup to Add Signatures
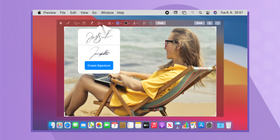
Mac’s screenshot Markup tool goes beyond the simple “how to annotate screenshots on Mac”. You can add your own signature to documents or images directly using your trackpad or mouse. This feature is incredibly useful for signing contracts and forms or adding a personal touch to your creations.
Filters and Effects
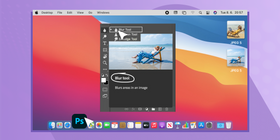
For creative flair, iMacs and Macbooks offer a range of filters and effects to transform the look and feel of your images. In the Photos app, you can experiment with various filters to give your images a distinct style or mood. You can use editing apps like Adobe Photoshop for advanced filter and effect options, as well as blurring sensitive information.
Organizing And Saving Your Screenshots
Naming
Keeping your edited screenshots organized is essential for productivity and ease of access. Mac users can create folders to categorize their screenshots based on projects, topics, or any other relevant criteria.
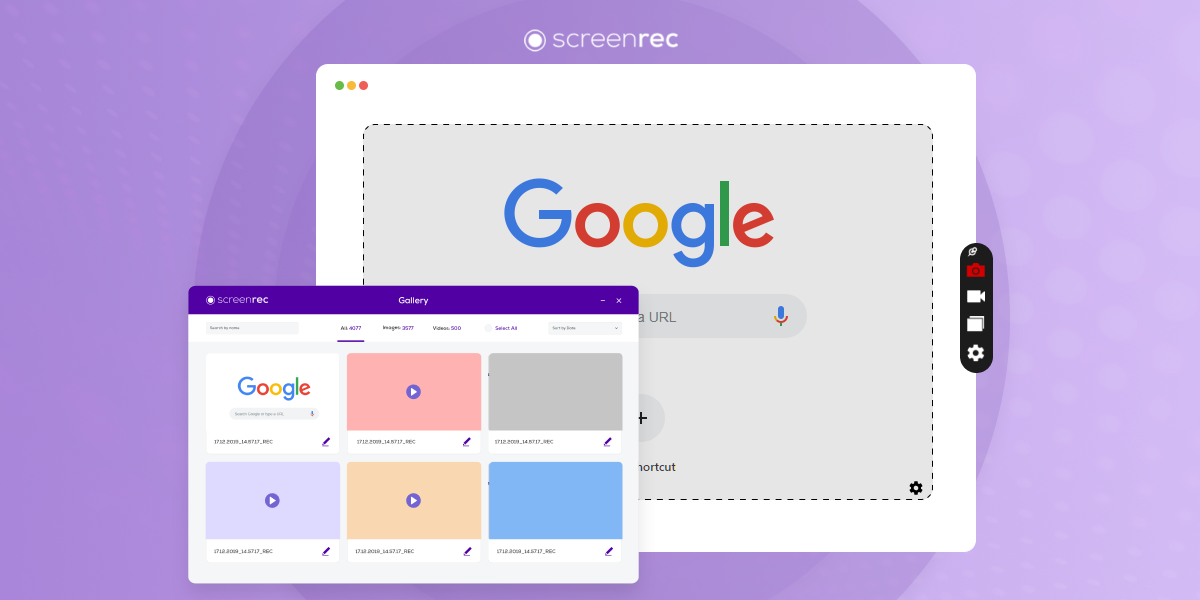
If you’re working with ScreenRec, you don’t have to save your screenshots on your computer. They will automatically be saved to the cloud.
Draw Shapes and Arrows
If you want to rename a file, just open it in the Gallery and click on the name. You will then be able to change the name to whatever you want. You can also add tags to make it easier to find your screenshots in the future.
Sharing Edited Screenshots
Once your edited screenshots are organized and saved, sharing them becomes a breeze on a Mac. Let’s have a look at two different methods:
ScreenRec
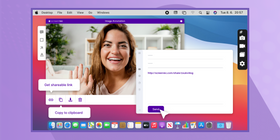
Right after taking and editing the screenshot, click on the Link button in the menu to get a unique, private shareable link. You can paste that in an email, chat, or anywhere else you like. You don’t have to attach anything or wait for the screenshot to upload.
Alternatively, you can copy the image itself by clicking the Copy button. You can paste that in Apple’s Messages app, in a Slack chat, in Gmail, or in any other app that supports pasting images.
MacOS Built-in Tools
After saving the file, go and find it on your hard drive. On a Mac, it’s on the Desktop by default. Here are various ways to share the file:
- Email: Attach the edited screenshot to an email and send it directly to recipients.
- Messages: Share screenshots instantly with friends or colleagues through Apple's Messages app.
- Airdrop: If you have multiple Apple devices nearby, you can use Airdrop to quickly transfer screenshots.
- Cloud Services: Save your edited screenshots in cloud storage platforms like iCloud, Dropbox, or Google Drive. You will have to upload the file and then get a shareable link.
Tips And Tricks For Efficient Editing
There are a plethora of screenshot editing tips for Mac. Some are keyboard shortcuts that can significantly speed up your editing workflow. Learning and utilizing these shortcuts can save you time and reduce the need to navigate through menus. Here are a few tricks to learn:
- In Preview, pressing Command (⌘) + T opens the Markup toolbar and gives you quick access to annotation and drawing tools.
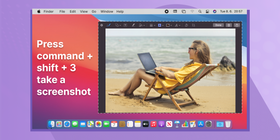
- Command (⌘) + Shift + 4 turns your mouse into a crosshair and allows you to select an area of the screen to capture. The screenshot is saved directly to the default folder. Read below to find out how to change that folder.
- Command (⌘) + Shift + 5 opens the advanced screenshot capture options, including screen recording . You can capture the entire screen, a portion of the screen, or a window. This also allows you to set a timer for screen capture and show your mouse pointer.
How To Change The Default Screenshot Folder On A Mac
- Start Advanced Screenshot Capture. Press Shift + Cmd + 5.
- Open Options. In the screenshot utility, you'll see an Options menu. Click on it.
- Choose Save Location: Under the Save to section, you can choose from several default locations like Desktop, Documents, Clipboard, Mail, Messages, Preview, or Other Location. If you select Other Location, you can navigate to any folder where you want to save your screenshots.
Comparison Of Screenshot Editing Options On Mac
Aspect | Mac Built-in Tools | ScreenRec |
Ease of Access | Integrated into macOS | Requires separate installation |
Basic editing | Limited functionality | Easy-to-use editing options |
Annotating | Markup tools in Preview | Dedicated annotation features |
Cropping | Possible in Preview | No cropping tools |
Adding Text | Customizable text overlay in Preview | Customizable text overlay |
Arrows/Highlighting | A lot of tools in Preview | Easy-to-use tools designed for screenshot annotation |
Cloud Storage | You need to upload your files to the cloud manually | Instant upload to StreamingVideoProvider’s enterprise-grade cloud services. |
Instant Sharing | No, you have to upload the screenshot first | Yes, get private, shareable link with a click. |
Frequently Asked Questions
No, it's not required. Mac has built-in applications such as Preview that can be used to edit screenshots. However, if you need more sophisticated editing features, you might want to consider third-party applications like ScreenRec .
The Screenshot app on Mac allows for basic editing such as cropping and marking up the screenshot with text, shapes, and drawings. For more advanced and efficient editing, you may need to use third-party tools.
By default, screenshots on a Mac are saved to the Desktop. The file name will start with “Screenshot” followed by the date and time it was taken. If you are using ScreenRec, it will start with date and time. ScreenRec saves your screenshots to the cloud, and you can find them by opening the app and going to Gallery.
Yes, you can change the save location for your screenshots using the Screenshot app's options. With ScreenRec, it automatically saves screenshots to your personal account. To view screenshots you’ve taken previously, just press the Gallery button. If you decide to save a screenshot to your computer, you can choose the location.
Yes, they are. ScreenRec also works on older Mac operating systems.
Once the screenshot is saved, you can’t edit the text you’ve added. What you can do is take another screenshot. If you want to edit text that you’ve screenshotted, just hover over it with your mouse and you will see a cursor. Select the text, click Edit -> Copy or Cmd + C, and then click Edit -> Paste or Cmd + V to paste it.
Conclusion
We hope this article will help you become an expert on how to edit screenshots on Mac. However, you can also experiment and improve your editing skills. Explore the built-in tools and third-party applications to unlock endless creative possibilities and achieve your communication goals.
A screenshot is worth a thousand words!
If you want quick and simple screenshot editing on Mac with instant sharing, click here to download ScreenRec.
References & Further Reading
- All About Video Email
- How To Screenshot And Annotate On A PC
- How To Improve Communication At Your Workplace
- How To Record Your Computer Screen and Audio For Free


DON’T MISS OUT
Get updates on new articles, webinars and other opportunities: