How to Make Short Instructional Videos on a Computer
YouTube is recognized as the world’s second-largest search engine, so it's logical to assume that people intentionally seek out video content.

We love the fact that it’s simple to find entertainment for the whole family on any device! Which makes this medium ideal for your business and organization.
Video content is easy to consume and, in some cases, more effective than other mediums to convey a message. Visual and kinesthetic learners comprehend information better when watching someone in real-time.
Although if you need to hire a professional to capture an instructional video it could cost upwards of $8-10k. If your budget allows for that kind of investment, by all means, do that!
But if you’re like most entrepreneurs, that’s probably not a realistic number to drop on a short video. Especially if you’ll need to do it over and over again.
Who Should Make Instructional Videos?
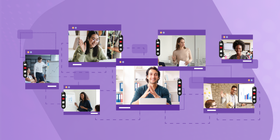
You! The virtual knowledge and education industry is a booming market. Think Tony Robbins, Russel Brunson, Niel Patel, and also consider that virtual classrooms are a regular part of our post-COVID world.
Pick nearly any industry, and there is a practical scenario where someone could create and leverage instructional video ideas:
- The sanitation worker could record training programs about proper disposal techniques and how to avoid damage to trash cans or property during pick up.
- Project managers can show their team step-by-step instructions to use the software required to get the job done.
- Fitness coaches can create training videos their clients can watch from anywhere.
- Professional consultants can walk a client through a complex software implementation or work through meditation steps to overcome a mental block.
- Driver’s ed teachers can improve their student’s learning experience with homework videos or test preparation materials.
- Graphic designers can share instructional designer elements and some tips and tricks they’ve learned along the way.
- Architects can create employee training videos on how their complex software works and they can also create informational videos for clients.
- A branding expert may share how clients can prepare their brand messaging and identity before jumping into a new logo.
- The school board can create a training video to show teachers how to use the new Elearning software.
- Accountants will use explainer videos to walk clients through complicated spreadsheets before tax season.
Now it’s your turn. Think of two instructional or tutorial videos you can offer in your business or for your students right now!
Here’s What Instructional Videos Can Help You Accomplish

You’re explaining, teaching, showing, and educating an audience or maybe a specific person with your instructional video. You’re imparting your knowledge to develop the viewer’s skills or modify their mindset.
Whether you want to teach them how to make a website or how to be more productive, that video then becomes a reusable resource, a digital asset that you can leverage in so many ways! For example, you can:
- Drive traffic to your website by sharing how the viewer can accomplish a certain goal with the info in your video.
- Lighten the load on your support team by recording instructional videos for frequently asked questions. Record it once and share it over and over.
- Use the video in your marketing strategy. You can grow your business by increasing your brand’s credibility and showcasing what you have to offer.
- Video content uploaded to YouTube can help improve your Google page rank.
Once you know how to create videos and you’ve created a few, you’re the proud owner of a library of resources. This library of resources is reusable, recyclable, and a digital asset. Curated content that all works together can even be turned into an online course to help you earn passive income!
The possibilities are endless. All you have to do is get started. Here are our best tips for making educational videos.
Here’s What NOT to Do
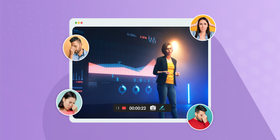
Before you start your own video production, we’ll tell you about the most common mistakes. You can avoid these and try for the best results:
- Whatever your content is about, make sure you target a specific audience you want to reach and create the right content strategy for it.
- If you’re warming up an audience to make an offer, create content that makes them feel like they deserve it
- You don’t need to invest in fancy recording and filming equipment to start recording. Get the best equipment you can afford without breaking the bank. Free screen recording software or a smartphone is a good way to start. Then you can upgrade when you need to. You can also use webcam recording software if you want to make ‘talking head’ videos.
- Your videos don’t have to be perfect! Accept that your first one definitely won’t be, and prepare to make the next one a little bit better. You can even use your flops to show your audience how to make an informational video and how not to.
Start with a Plan
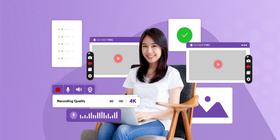
As with any project, if you fail to plan, you’re planning to fail. The more pre-planning you do in video creation, the more you can see what holes there may be. You’ll see if you need to improve your strategy or where you need to supplement with new software.
Audience
First things first! Who are you helping with this video? Ensure that you have a clear understanding of your audience and what they need to see in your videos.
An audience knows when your message doesn’t fit them. If you don’t get this right, they won’t watch your videos to the end and they won’t implement the content, which is bad for business.
Let’s use students who are learning to ride a motorcycle as our first example. You have to speak to them at their level and create video assets that resonate with their spirited minds.
On the other hand, if your market is mature professionals, your messaging and video quality needs to match their expectations.
Strategic Topic Preparation
Create an instructional video on a topic that solves a problem for your audience. In our case, for example, the topic could be “How to make short instructional videos”. Having a topic in mind creates your learning objective and will help you communicate exactly how the viewer will benefit.
Ask yourself the following questions:
- What problem can I help someone solve?
- How can I show the solution and not just tell them how it works?
- How can I help them reach a goal they’re striving to achieve?
Make your video a resource your audience will want to refer back to in the future!
Now that you know what the content of your video is, visualize it by creating a simple storyboard. You don’t need to possess the skills of an artist. Stick figures and thought bubbles will do the trick.
For example, you may want to record a software demo. Think of the features you want to highlight and write them down. That’s your storyline.
Finally, you need to decide on the proper length of the video. It all depends on your audience and the context where they view your video. A good guideline is to plan for no less than three minutes of content and no more than twenty minutes.
Pre-Script Your Narrative
You don’t want to approach your recording speaking off the top of your head. Your audience can tell, and it won’t yield great results.
Preparing a script to narrate will help you ensure everything you intend to cover gets in the video.
You don’t have to memorize your script! You should know by now that there’s an app for almost everything. Teleprompter apps and software for your smartphone or laptop make narration the easy part.
It’s helpful to create a chart that connects what you’re saying with screenshots of what you want to show. If your video is walking someone through a login process, create a chart reminding you about specific instructions. For example, make a note to tell the viewer to check the “remember password” box, so they don’t have to log in again.
Remember to keep your tone and language conversational as you move through your video content. You are talking to real people on the other side of the camera. This is especially important if you’re covering highly technical information. Avoid using any confusing jargon.
Practice makes progress! Before you press the record button, practice, practice, practice!
Keep in mind there may still be hiccups along the way, but the result doesn’t have to be perfect! The next one you make will be a little bit better because of your experience.
For Screen Recorded Videos

Screen recording allows you to move through a process while your viewers watch. This is also known as the “over the shoulder” approach to instructional videos. It’s highly effective for visual learners and people who struggle with concepts but are great at implementation. For this task, it’s important to find a no-lag screen recorder.
So let’s show you how to make an instructional video with screen recording.
Start with the Voice Recording
If you're preparing a screen capture video, start by pre-recording your narrative. This takes the pressure off because you don't have to prepare and record everything all at once.
Find audio recording software to help you mark and eliminate silences and hesitation sounds like “um” and “uh”. This feature will elevate the quality of your video and allow you to trim off any unnecessary time.
If you decide to purchase a microphone, use the highest quality external microphone you can get within your budget. If that budget is $0, that’s ok! A smartphone recording captured in a small, quiet space will work just fine, and you will be happy with the results.
The last point regarding voice recording is transcriptions. Some software will transcribe your audio for accurate close captioning and you can also use that in another format.
Screen Recording Software
Choose screen recording software that is not only easy to use but also offers sharing capabilities. Here apps we’ve found for you to check out:
ScreenRec
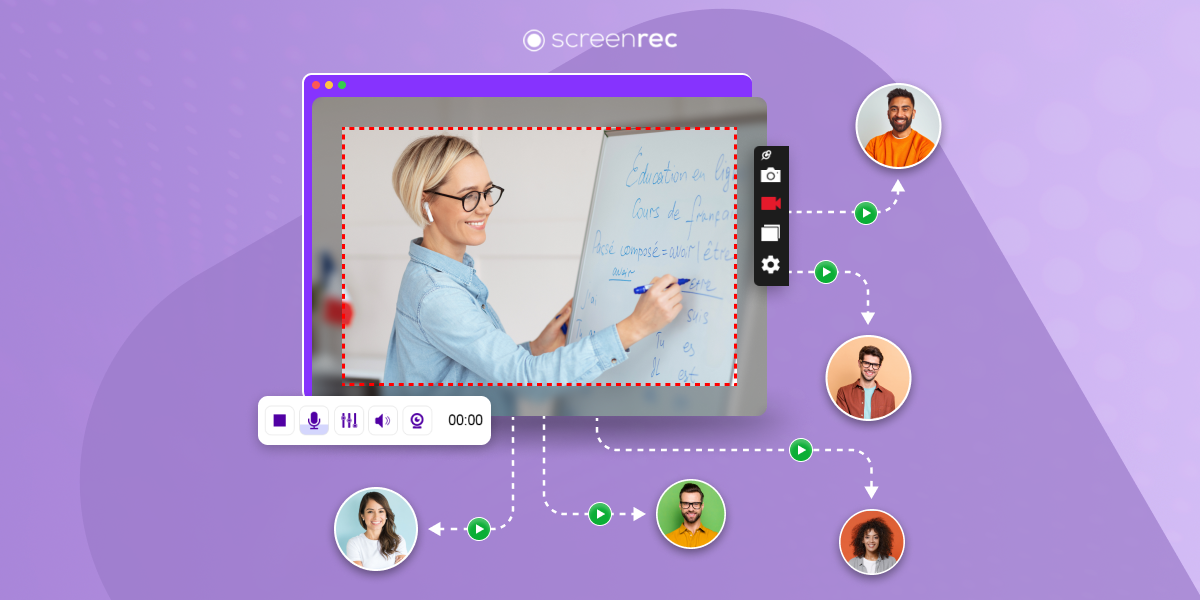
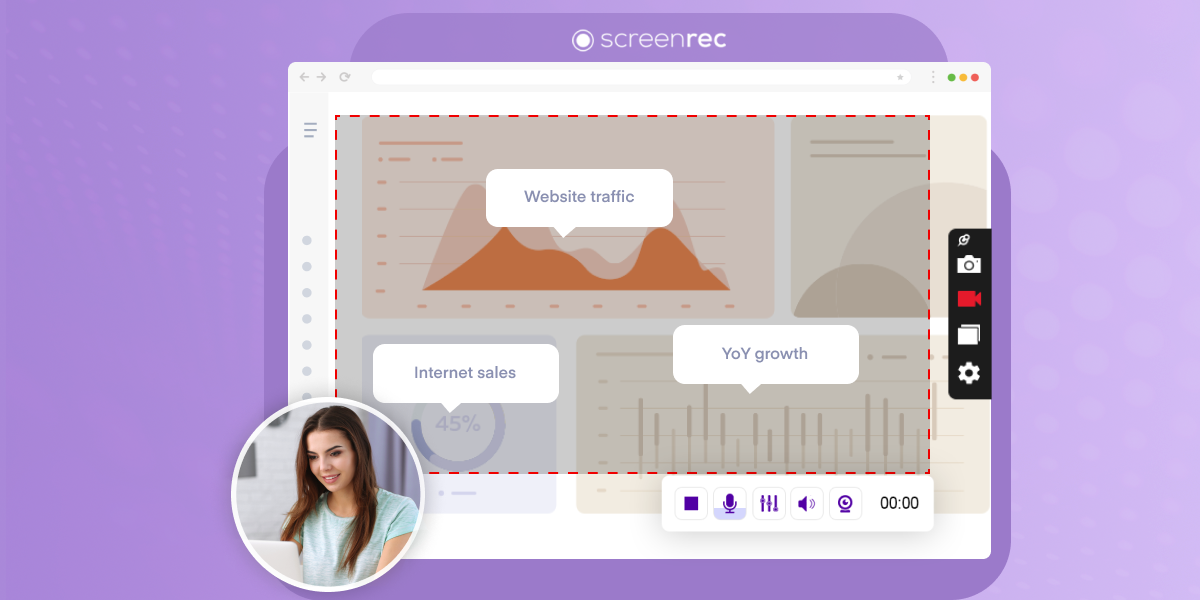
ScreenRec gives you all the features you need without any of the complications of similar software. It allows you to record your screen, webcam, microphone and even computer audion. When you’re done recording, you can instantly share your video (no uploading needed!) You can also download the video for editing. ScreenRec is one of the best 4k screen recorders. And it’s completely free.
Hippo Video Screen
Hippo offers a free seven-day trial, followed by an affordable starter membership with a few additional features. The free trial gets you unlimited HD recordings, Gmail/Outlook Integration, GIF thumbnail options, and video trimming.
EZvid
EZvid also offers a free trial period. The features include pause and resume screen recording, zooming capabilities, mouse focus recording, screenshots, and area selection zoom. Along with ScreenRec, this software is one of the best Camtasia alternatives.
Camtasia
This app is not free, but that’s because the features are pretty impressive. It offers automatic audio leveling, mouse cursor smoothing, editable keyboard shortcuts, and branded theme options.
Whatever software you choose, perform multiple tests before you publish your video. As a final touch, do at least one complete run-through of your presentation to familiarize yourself with the format.
For Video Cameras
Video camera recording requires a slightly different setup than screen recording.
- Make sure you are filming in a clear, uncluttered space or in front of a backdrop.
- Before you start filming, invest in at least a tripod for steady capture.
- If you’re using a smartphone, the subject needs to be close to the device to pick up the audio.
- Good lighting is essential! A poorly lit room significantly decreases subject and material visibility and cheapens the overall feel of your video.
The Editing Phase
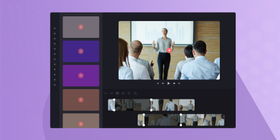
Editing can be tedious, but the more you create, the easier it will get. Continue to develop your video editing skills by producing more content; it’s a win-win!
Take advantage of a production calendar to help you get organized during this stage. If you’re not ready for this level of DIY, you can take advantage of editing services. They will edit your video and audio recordings and return a completed file.
Start by removing mistakes and any hesitation phrases like “um.” Also, remove and trim any unnecessary silence or excess footage. Splicing different takes together is a more technical application of video editing software but may yield the highest quality results.
Adding your voice-over is the last step to complete the content portion of your video.
If you’re not ready for this level of DIY, you can take advantage of editing services. They will edit your video and audio recordings and return a completed file.
Create Visual Assets
A finished and high-quality video has the added touch of branded intro images and end screen graphics. Create these in separate software, like Canva, and upload them into your video file.
Upload and Share
You did it! Your first instructional video is complete. Create, perfect, recycle, repeat!
Keep Creating!
Once your digital content is created, you have it forever! It’s now infinitely recyclable for other platforms and can be modified into other formats, like short-form video, for Instagram Reels or even TikTok.
Sharing what you know and preparing this knowledge in an easily digestible format not only improves the lives of your audience members, but it creates better learners, and positions you and your brand as an industry leader. Now, go make video number two!
References & Further Reading
- How SD-WAN / Multi-WAN Technology Handles the Data Avalanche from Youtube (Infographic)
- How Much Does A Corporate Training Video Cost?
- 5 Ways To Create Screencast Videos For Your Marketing
- 8 Super Simple Steps To Record A Software Demo Video
- Best 7 No Lag Screen Recorders (Comparison)
- Video Marketing Guide – Why You Need to Start Video Marketing
![[Handpicked] 8 Best Tools To Teach Online For Educators](https://screenrec.com/assets_dist/screenrec/media/best-tools-to-teach-online/best-tools-to-teach-online.png)
DON’T MISS OUT
Get updates on new articles, webinars and other opportunities: