Features
By Role
By Task
-
Software Development
Send video emails, reduce meetings, and stay focused while coding.
-
Customer Support
Send personalized video messages and solve issues faster.
-
Design
Speed up design reviews and improve client communication.
-
eLearning
Quickly create and share training videos for students and staff.
-
Sales
The simplest way to create and send personalized videos to leads.
-
Employee Onboarding
Speed up onboarding and add a personal touch with instant videos.
-
Project Management
Explain tasks, give feedback, and communicate with clients.
-
Business Communication
Speed up work communication with instant video messages.
-
Record Your Screen
Record your screen, webcam, microphone, and computer audio. Share instantly.
-
Take & Annotate Screenshots
Take and annotate screenshots, auto-save them to the cloud, and share instantly.
-
Record Your Webcam
Record your webcam only or your screen with webcam.
-
Record Live Streams
Capture live streaming videos with sound for as long as you want.

 button to take a screenshot.
 button to record your screen. Press Stop
  when you’re done.
 button and create a free account.
 button copies the screenshot image.
 button saves it to your computer.
 button discards it.
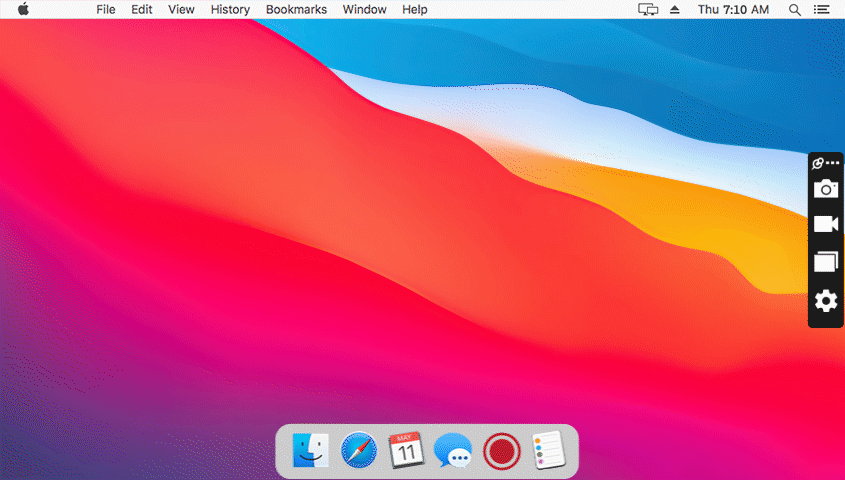
 webcam
  and
and  system audio
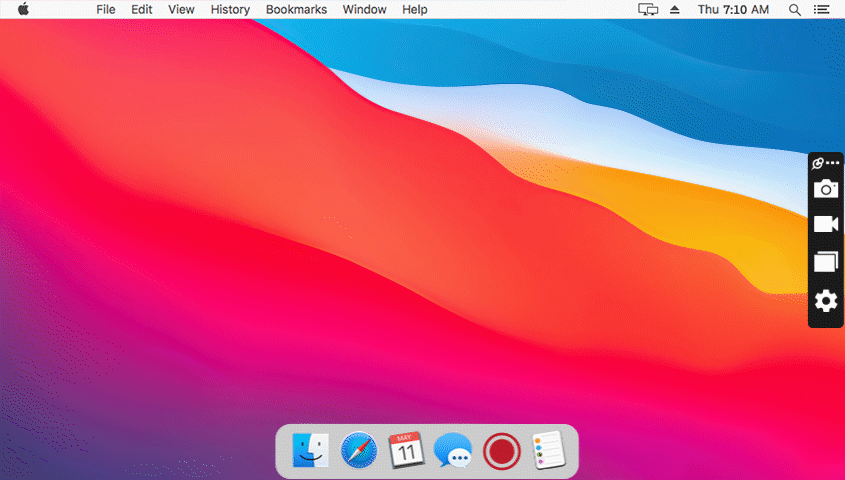
 , copy
  the gallery and filter items by type